There are different options to delete queues in RabbitMQ. The web-based UI can be used via the RabbitMQ Management Interface, a queue policy can be added or a script can be used via rabbitmqadmin or HTTP API curl. A script or a queue policy is recommended to delete multiple queues.
Delete queues via:
RabbitMQ Management Interface
A queue can be deleted from the RabbitMQ Management Interface. Enter the queue tab and go to the bottom of the page. You will find a dropdown "Delete / Purge". Press Delete to the left to delete the queue.

rabbitmqadmin
The management plugin ships with a command-line tool named rabbitmqadmin, which can perform the same actions as the web-based UI (the RabbitMQ management interface).
Note: When using rabbitmqadmin externally, you will need to connect to your instance with TLS and a username and password must be provided. In CloudAMQP, the management plugin is assigned port 443.
If you do not have a TLS certificate you can find one here. You can obtain all other information from the dashboard of the CloudAMQP console for your instance. It is recommended that you collect your login information into a config file, "admin.conf", shown below. You can also run the commands without the config by setting each part of the config as a flag in the command (eg. password becomes --password=PASSWORD)Rabbitmqadmin config example, ensure all text is contained in quote marks as shown:
[default]
hostname = "CLUSTER_URL"
port = 443
username = "USERNAME"
password = "PASSWORD"
vhost = "VHOST"
Delete one queue:
$ rabbitmqadmin delete queue name=$QUEUE_NAMEThe example below shows how the command is used for a CloudAMQP instance.
$ rabbitmqadmin --use-tls --tls-ca-cert-file=$CERTIFICATE_LOCATION --config=$CONFIG_LOCATION delete queue name=$QUEUE_NAMEDelete multiple queues
The script below will:
- Put the output from listing all queues into a file
- Collects the names from each queue and puts it into a new file. In this step you can look through this file and remove the names of any queue you wish to keep
- Loop the list of queues and delete each one, as necessary.
$ rabbitmqadmin --non-interactive queues list > queues.txt

$ while read name; do
 echo "$name" | awk 'BEGIN {FS="  "}; {print $1}' >>QNames.txt
done < queues.txt

$ while read name; do
 rabbitmqadmin close connection --name "${name}"
done < QNames.txt
The example below shows how the script is used for a CloudAMQP instance.
$ rabbitmqadmin --use-tls --tls-ca-cert-file=$CERTIFICATE_LOCATION --config=$CONFIG_LOCATION queues list > q.txt

$ while read name; do
 echo "$name" | awk 'BEGIN {FS="  "}; {print $1}' >>QNames.txt
done < connections.txt

$ while read name; do
$ while read -r name; do rabbitmqadmin --use-tls --tls-ca-cert-file=$CERTIFICATE_LOCATION --config=$CONFIG_LOCATION -q close connection --name="${name}"; done < qNames.txt
done < QNames.txt
Policy
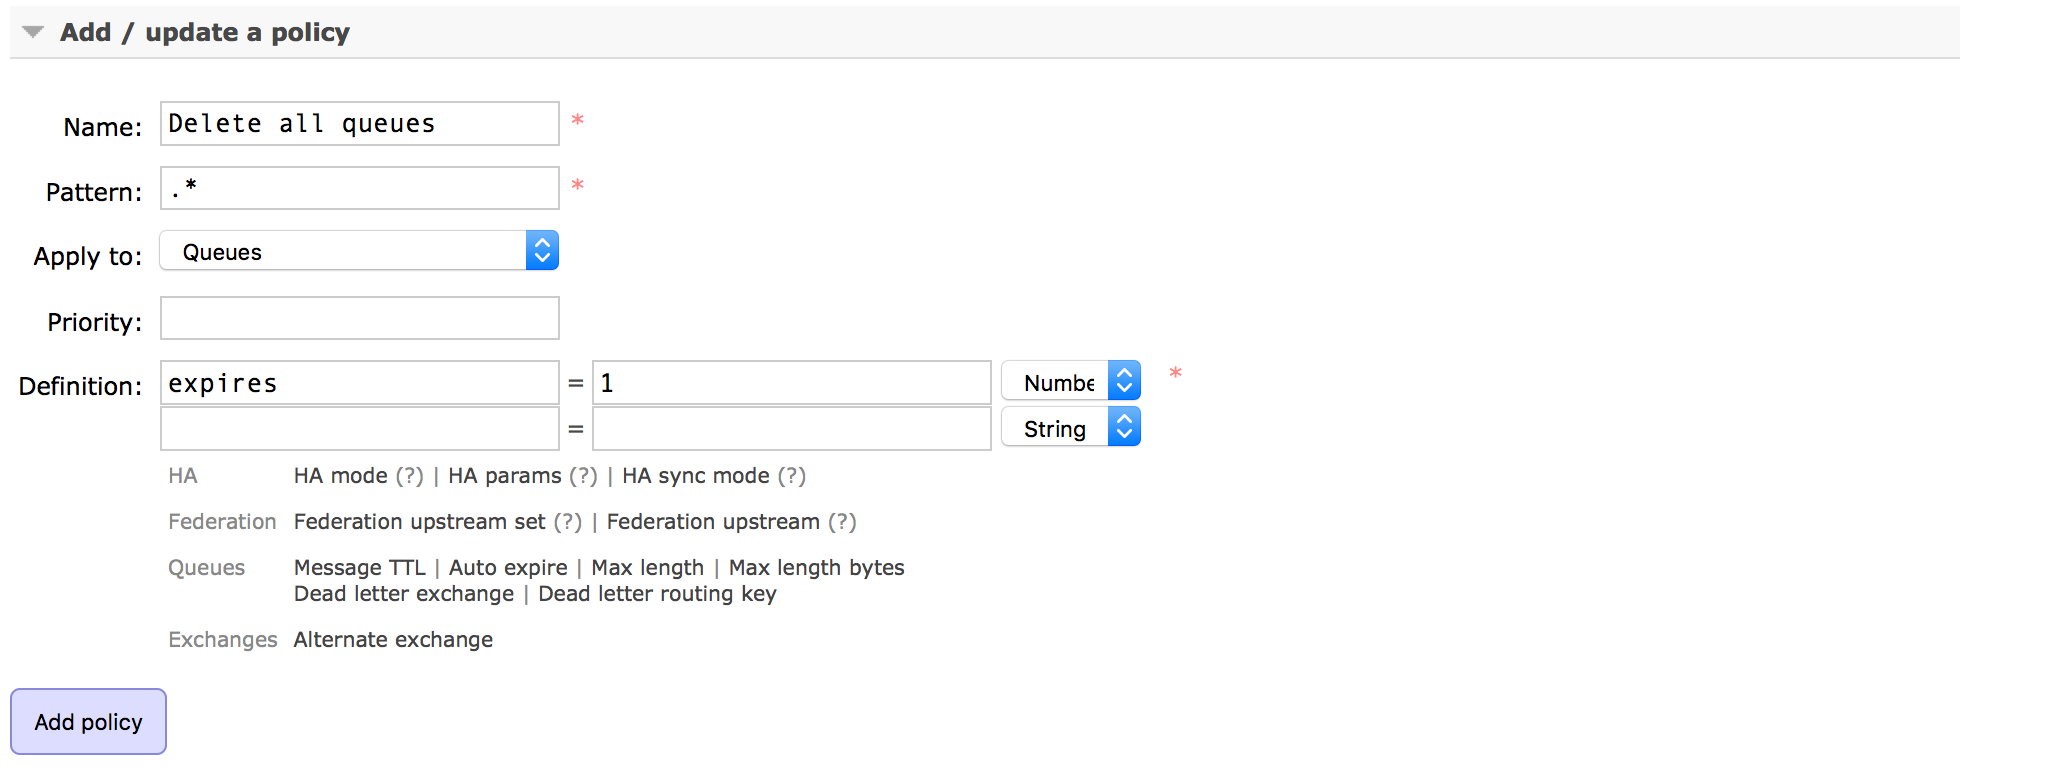
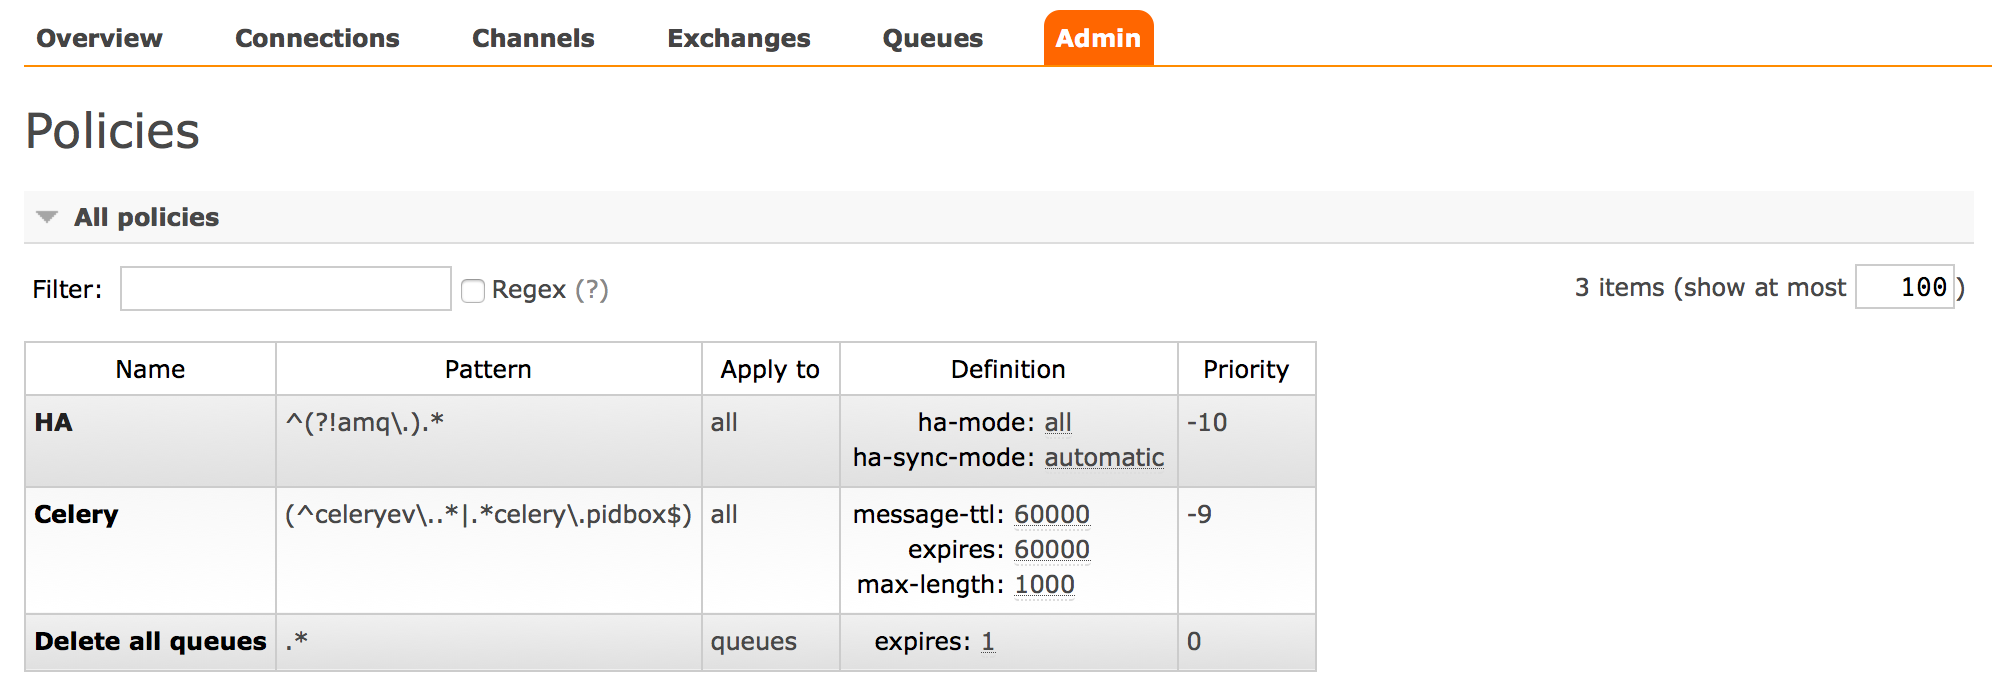
Add a policy that matches the queue names with an auto expire rule. A policy can be added by entering the Management Interface and then pressing the admin tab.
Note that this will only work for unused queues, and don't forget to delete the policy after it has been applied.


HTTP API, curl
The RabbitMQ Management plugin provides an HTTP-based API for management and monitoring of your RabbitMQ server. In CloudAMQP the management plugin is assigned port 443 and SSL has to be used.
curl -i -XDELETE https://USERNAME:PASSWORD@HOST/api/queues/rdkfegbx/QUEUE_NAME

If you want to only delete it once it is empty and has now consumers you can use the following option:
curl -XDELETE https://USERNAME:PASSWORD@HOST/api/queues/VHOST/QUEUE_NAME -G -d 'if-empty=true' -d 'if-unused=true'
Please email us at contact@cloudamqp.com if you have any suggestions, questions or feedback.


