How to get started with CloudAMQP
CloudAMQP provides managed LavinMQ and RabbitMQ servers in a cloud of your choice. CloudAMQP's service is perfect for companies that need to scale their messaging needs quickly and efficiently, or if you just want to try out message queueing. This guide will show you how to get started with CloudAMQP in just three steps:
- Set up a CloudAMQP account
- Create your RabbitMQ or LavinMQ server (instance) in your selected cloud
- Complete a setup checklist for your new instance
This part covers the first step, and the second and third steps depend on your chosen message broker (RabbitMQ or LavinMQ).
Set up a CloudAMQP account
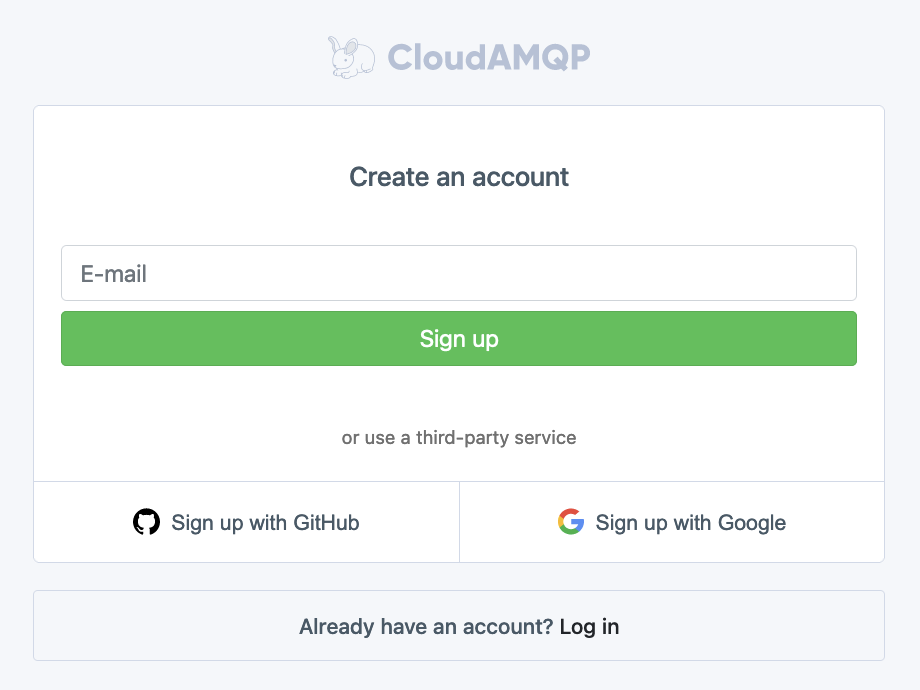
Begin your CloudAMQP journey by setting up a CloudAMQP account at https://customer.cloudamqp.com/signup. Sign up with your Google account, GitHub account or through email.
Once the email is confirmed and the account is set up; you are ready to create your first CloudAMQP instance. Press Create New Instance as shown in the diagram below:

CloudAMQP offers a range of messaging solutions in order to meet your specific messaging needs. For RabbitMQ, we offer dedicated plans with single or multiple node support, as well as shared plans hosted on multi-tenant servers providing a single virtual host. Our RabbitMQ solutions stand out with robust features and versatile throughput, positioning it as a powerful and feature-rich choice.
In addition, we provide a range of LavinMQ plans of which seven are dedicated single-node clusters and two are shared plans. LavinMQ is our in-house developed message broker, produced to satisfy pinnacle solutions. LavinMQ stands out for its resource efficiency and exceptional throughput, making it an agile and high-performance choice.
The different plan options are available on the pricing page: https://www.cloudamqp.com/plans.html.
Dedicated Instances
A dedicated plan is not artificially limited in any way and therefore highly recommended for your production environment. The maximum performance is determined by the underlying instance type and the number of nodes in the setup.
Shared Instances
A shared instance is a virtual host (vhost) located on a shared server where other users’ actions might affect the performance of the whole server. All shared plans have a channel limit set to 200 and a maximum of 200 consumers per channel.
We recommend shared plans for testing or hobby applications.
Add billing information
All dedicated servers (paid plans) require billing information. A credit card is also required. Contact "CloudAMQP Billing," billing@cloudamqp.com, if another payment option, such as wire transfer or PO, is needed.
Adding billing information is optional for the free plan.
Step 2: Set up a message broker
Move on to the page "Set up RabbitMQ" to get more information about how to get started with RabbitMQ at CloudAMQP.
Move on to the page "Set up LavinMQ" to get more information about how to get started with LavinMQ at CloudAMQP.
