Get started with CloudAMQP in 5 steps
CloudAMQP provides managed RabbitMQ and LavinMQ servers in the cloud of your choice. The service supports both large-scale production environments and smaller testing projects.
The setup consists of five steps:
- Create a CloudAMQP account.
- Choose your broker and plan.
- Create the instance.
- Connect to the instance.
- Checklist for production environment.
1. Set up a CloudAMQP account
Sign up at customer.cloudamqp.com/signup using GitHub, Google, or your email address.
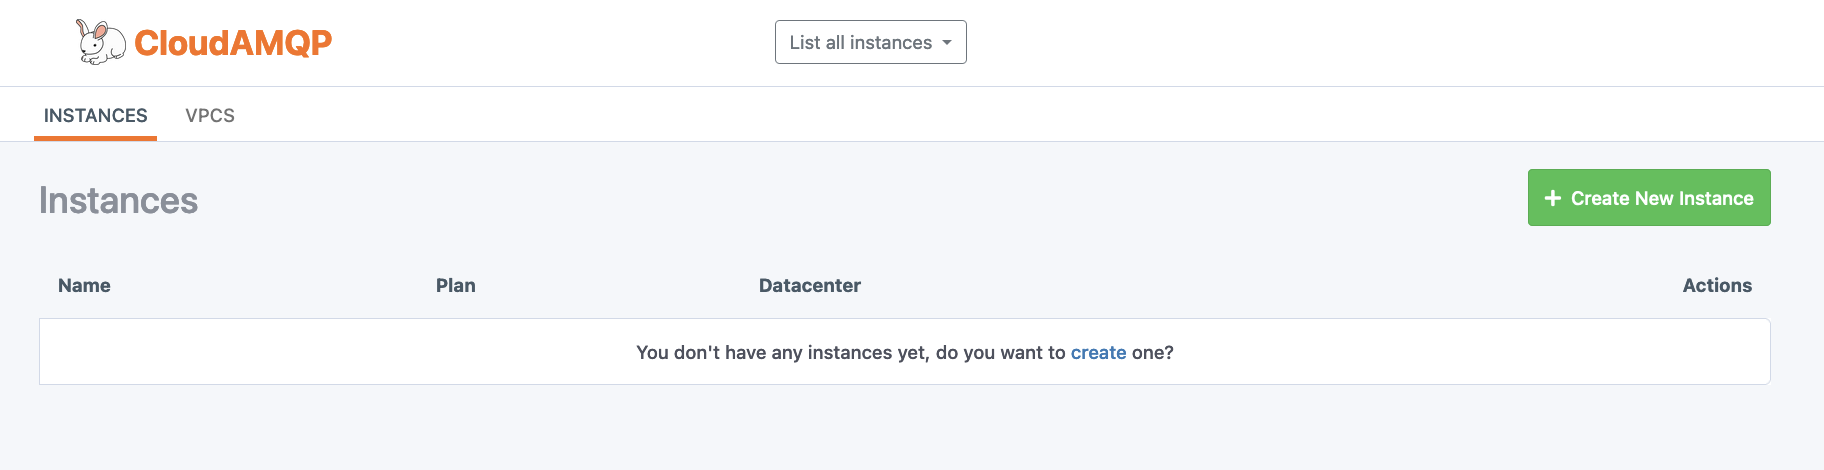
Once verified, log in to the console and click Create New Instance.
2. Choose your broker and plan
CloudAMQP offers both shared and dedicated plans. Compare all options at cloudamqp.com/plans.
Plan types
- Shared Plans: Multi-tenant servers providing a single virtual host. Ideal for testing and smaller workloads. All shared plans have a channel limit of 200 and a maximum of 200 consumers per channel.
-
Dedicated Plans:
Single or multi-node clusters built for production. Not artificially
limited; maximum performance is determined by the underlying instance type
and node count. Pricing is per node; all nodes on a given plan have the
same performance. The number of supported connections scales with the
number of nodes in the cluster. The speed shown on the pricing page is
burst speed and varies by message size, routing type, and configuration.
- 1 node: Fastest and simplest. Always consistent; no replication overhead.
- 3 nodes (2 AZs): Three servers across two availability zones.
- 5 nodes (3 AZs): Five servers across three availability zones for maximum resilience.
Billing
- Paid plans: Require a credit card to activate. If your organization needs wire transfers or Purchase Orders, contact billing@cloudamqp.com.
- Free plan: No billing information required.
Message brokers
Both LavinMQ and RabbitMQ support the same core use cases and run on the AMQP protocol. LavinMQ is built to be highly resource-efficient, offering exceptional throughput with a smaller hardware footprint.
With a broker and plan selected, follow the setup guide for the chosen broker:
RabbitMQ
Feature-rich broker with broad ecosystem support.
LavinMQ
High-throughput broker with a minimal resource footprint.