How to get started with LavinMQ on CloudAMQP
Create an account at CloudAMQP before getting started. Need help? See the getting started guide on how to set up an account.
Educational Material
New to LavinMQ? We've got your back

Create the instance
Give the instance a name and select a pricing plan. A tag can be added to separate instances between projects.
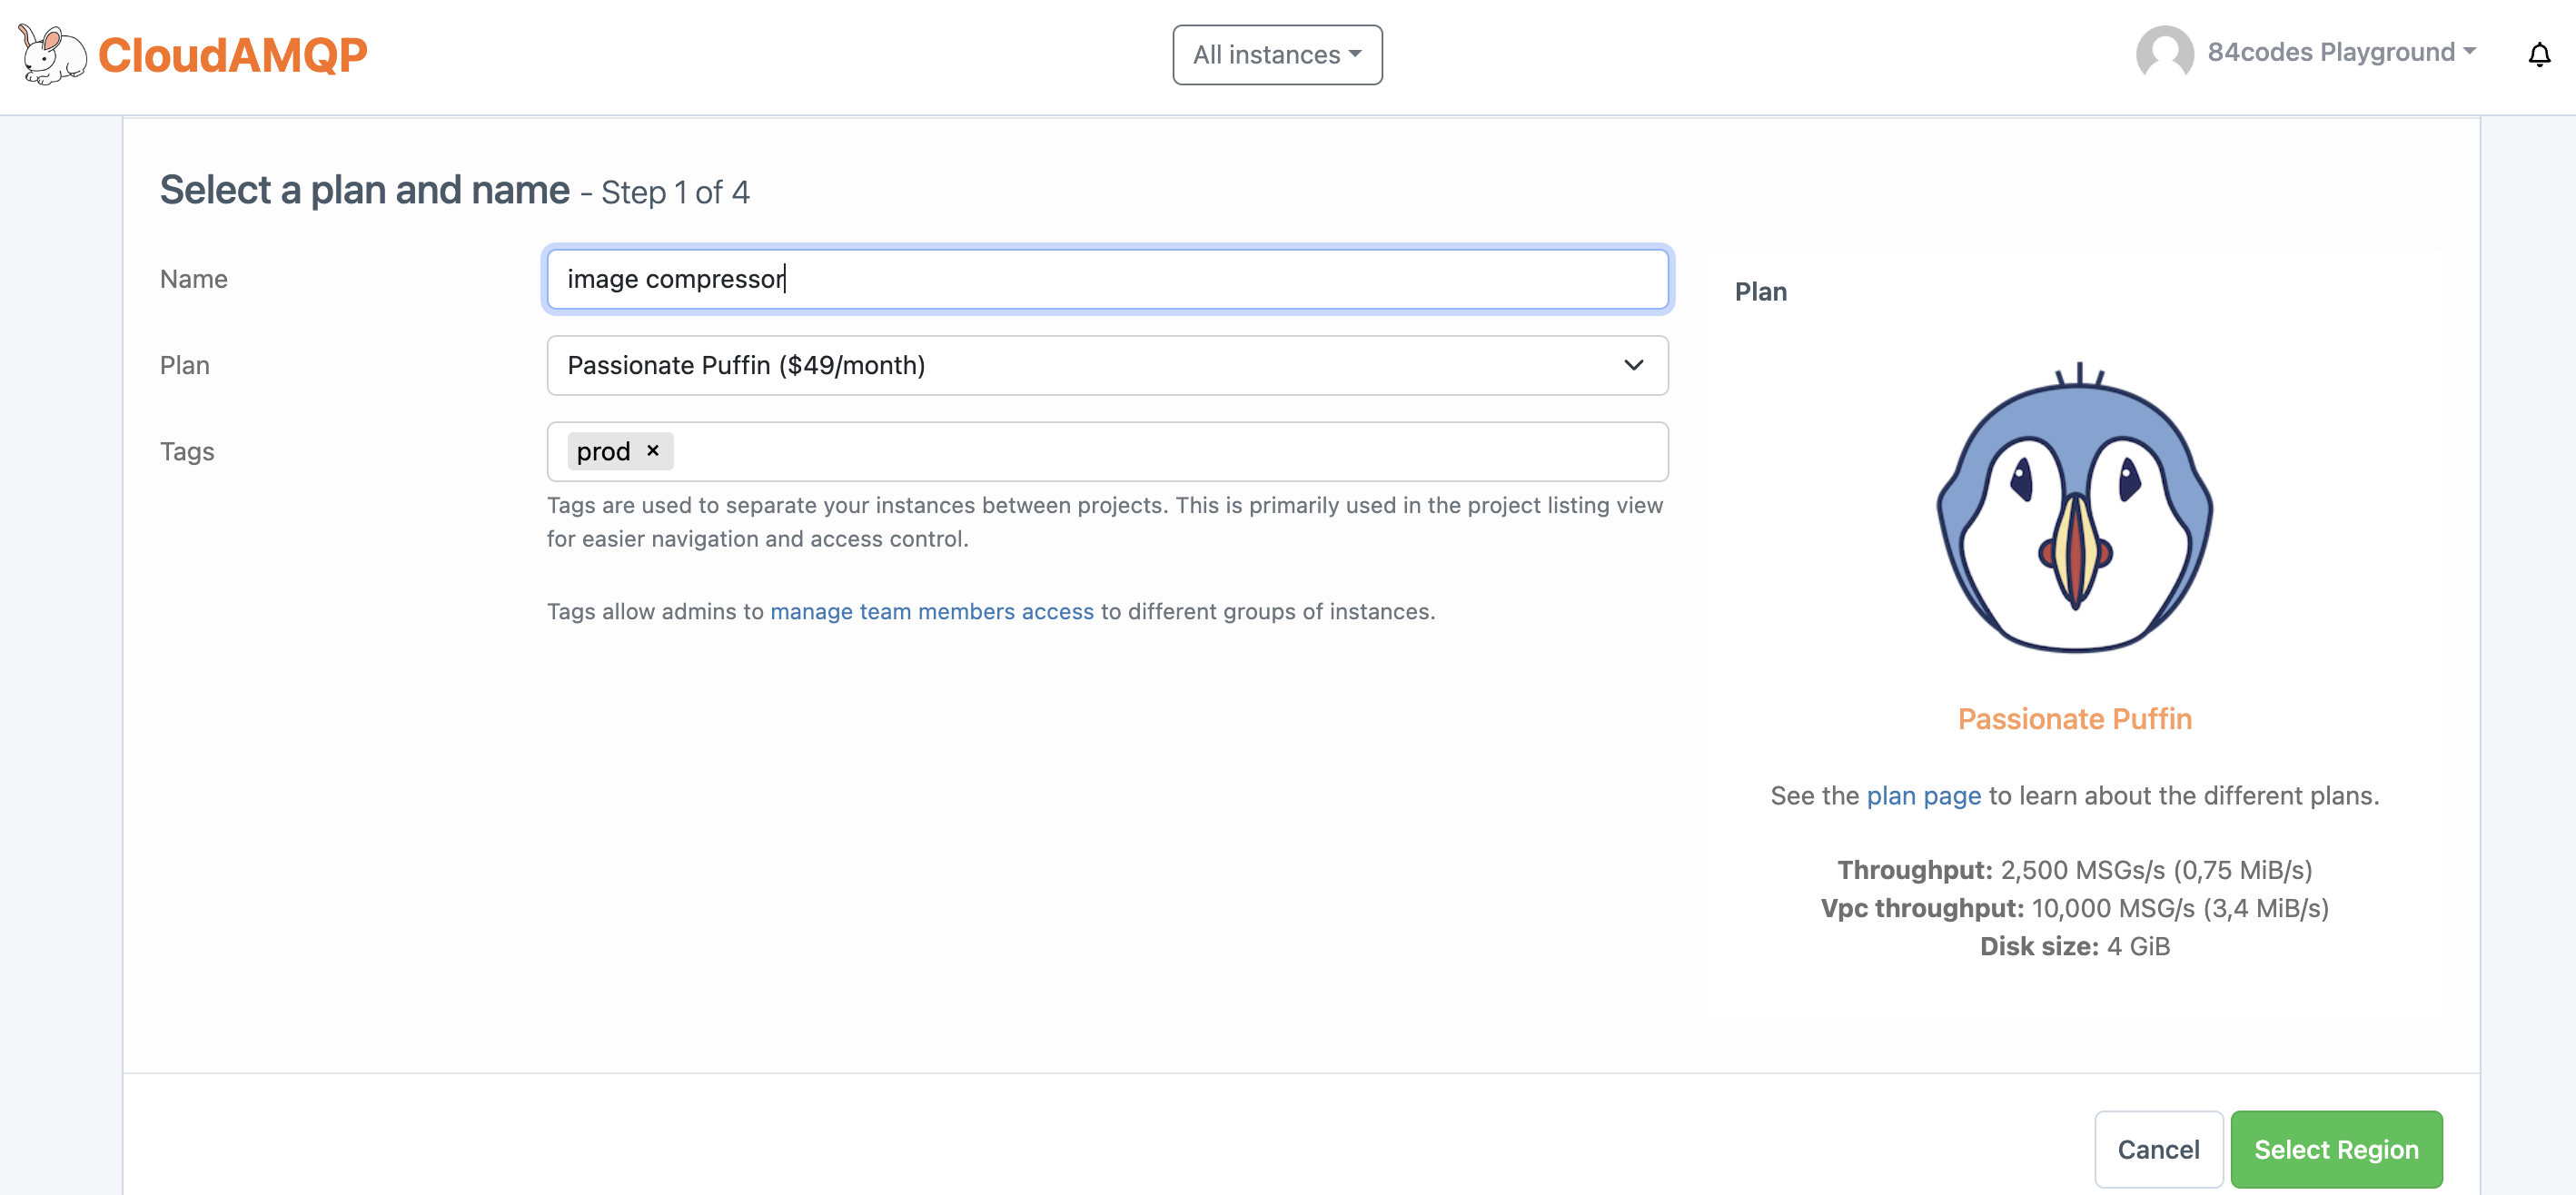
| Name | A label used to identify the instance in the console. |
| Plan | The CloudAMQP pricing plan. |
| Tag (optional) | Tags separate instances between projects and facilitate the project listing view for easier navigation and access control. E.g., "Test," "Prod," "Staging." |
Select a region and data center
Select a data center and region closest to the application.
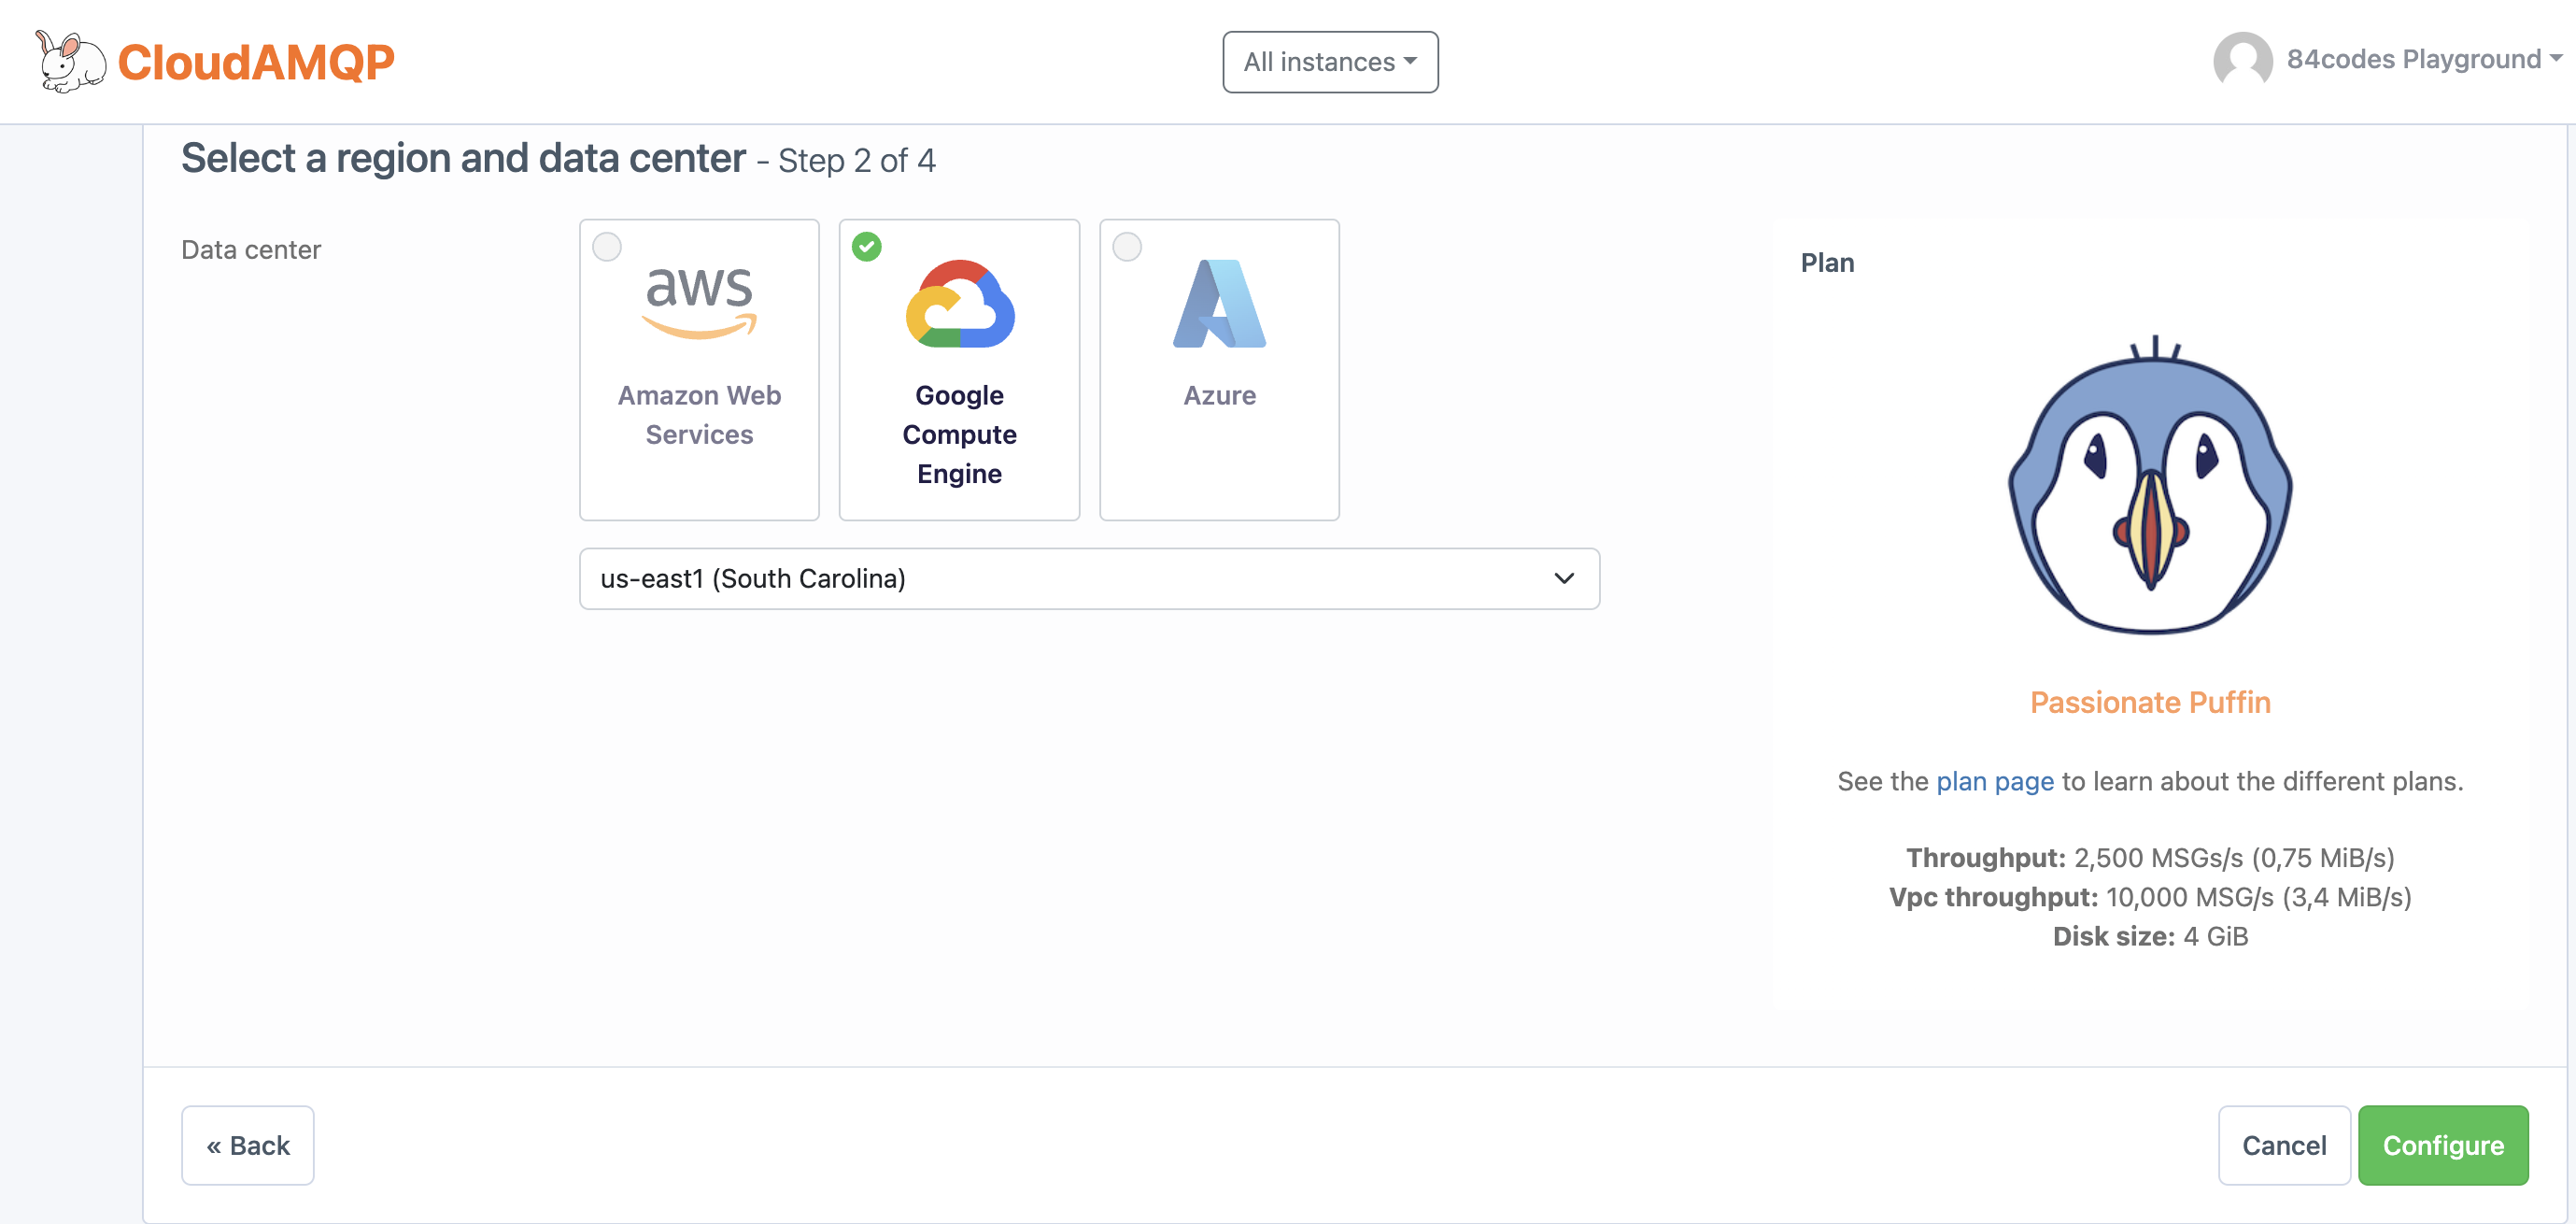
| Data center | Select the same data center and region as the application. |
| Region | Select the region within the data center closest to your application to minimize latency. |
Select configuration
It is possible to set up a peering connection between a VPC and a CloudAMQP VPC.
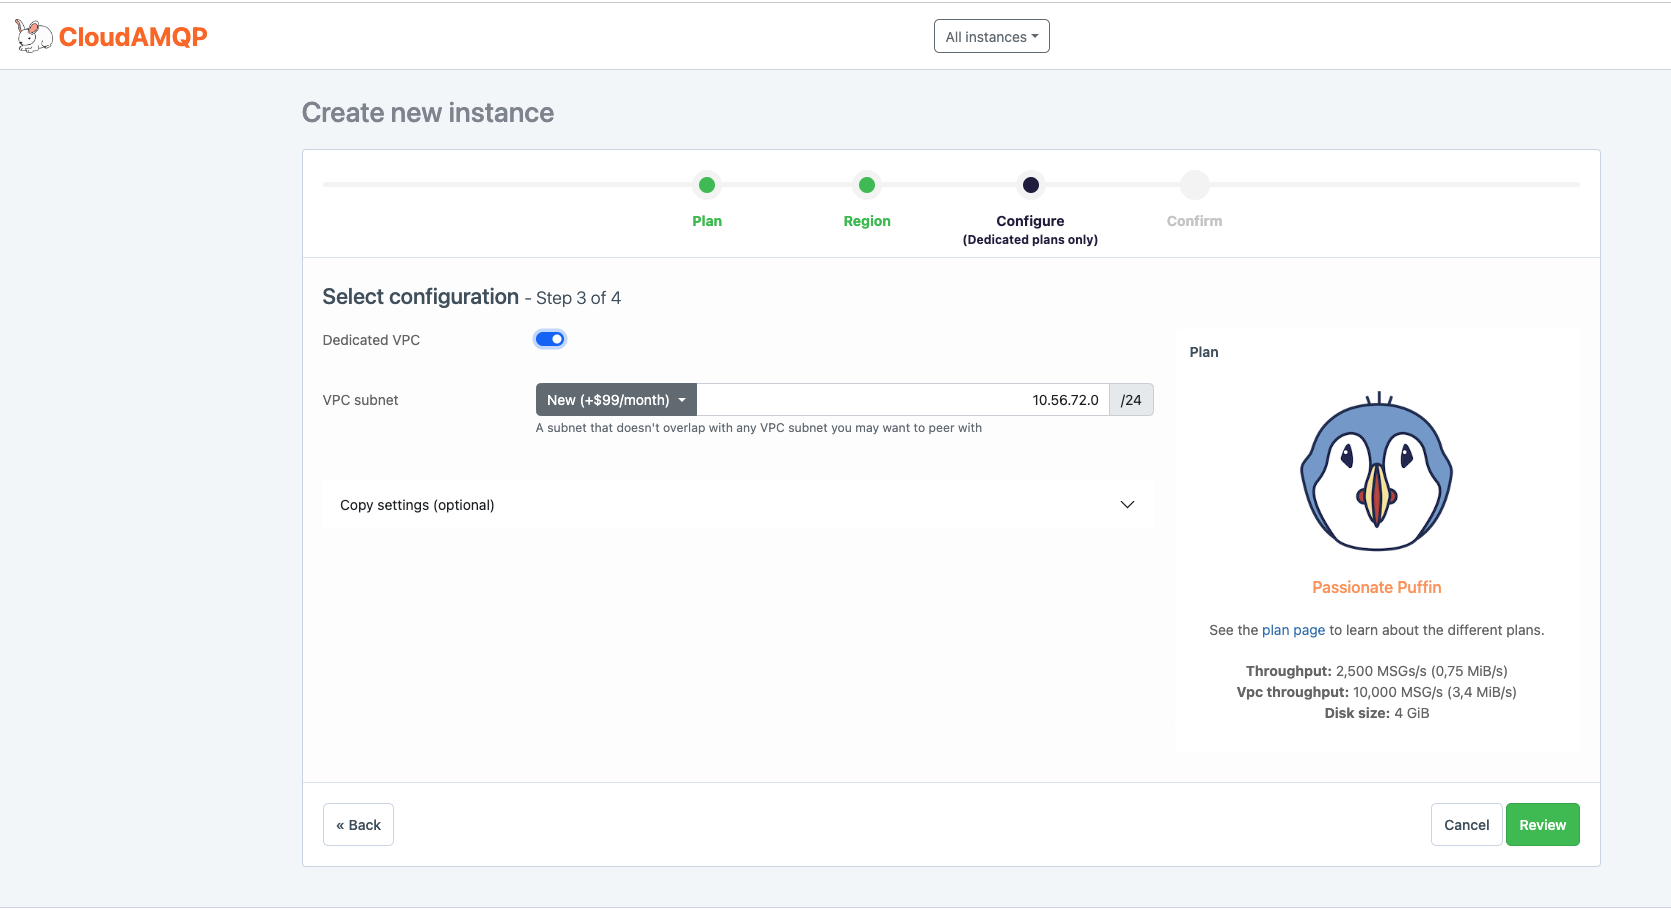
| Dedicated VPC | VPC peering with the CloudAMQP instance. The VPC subnet must be specified when creating a VPC. |
| Advanced configuration | Additional advanced settings for the instance configuration. |
| Copy settings | Copies settings like alarms or firewall configurations from another instance. |
Confirm new instance
Verify the information and press Create instance. The instance provisions immediately and is ready to connect within minutes.
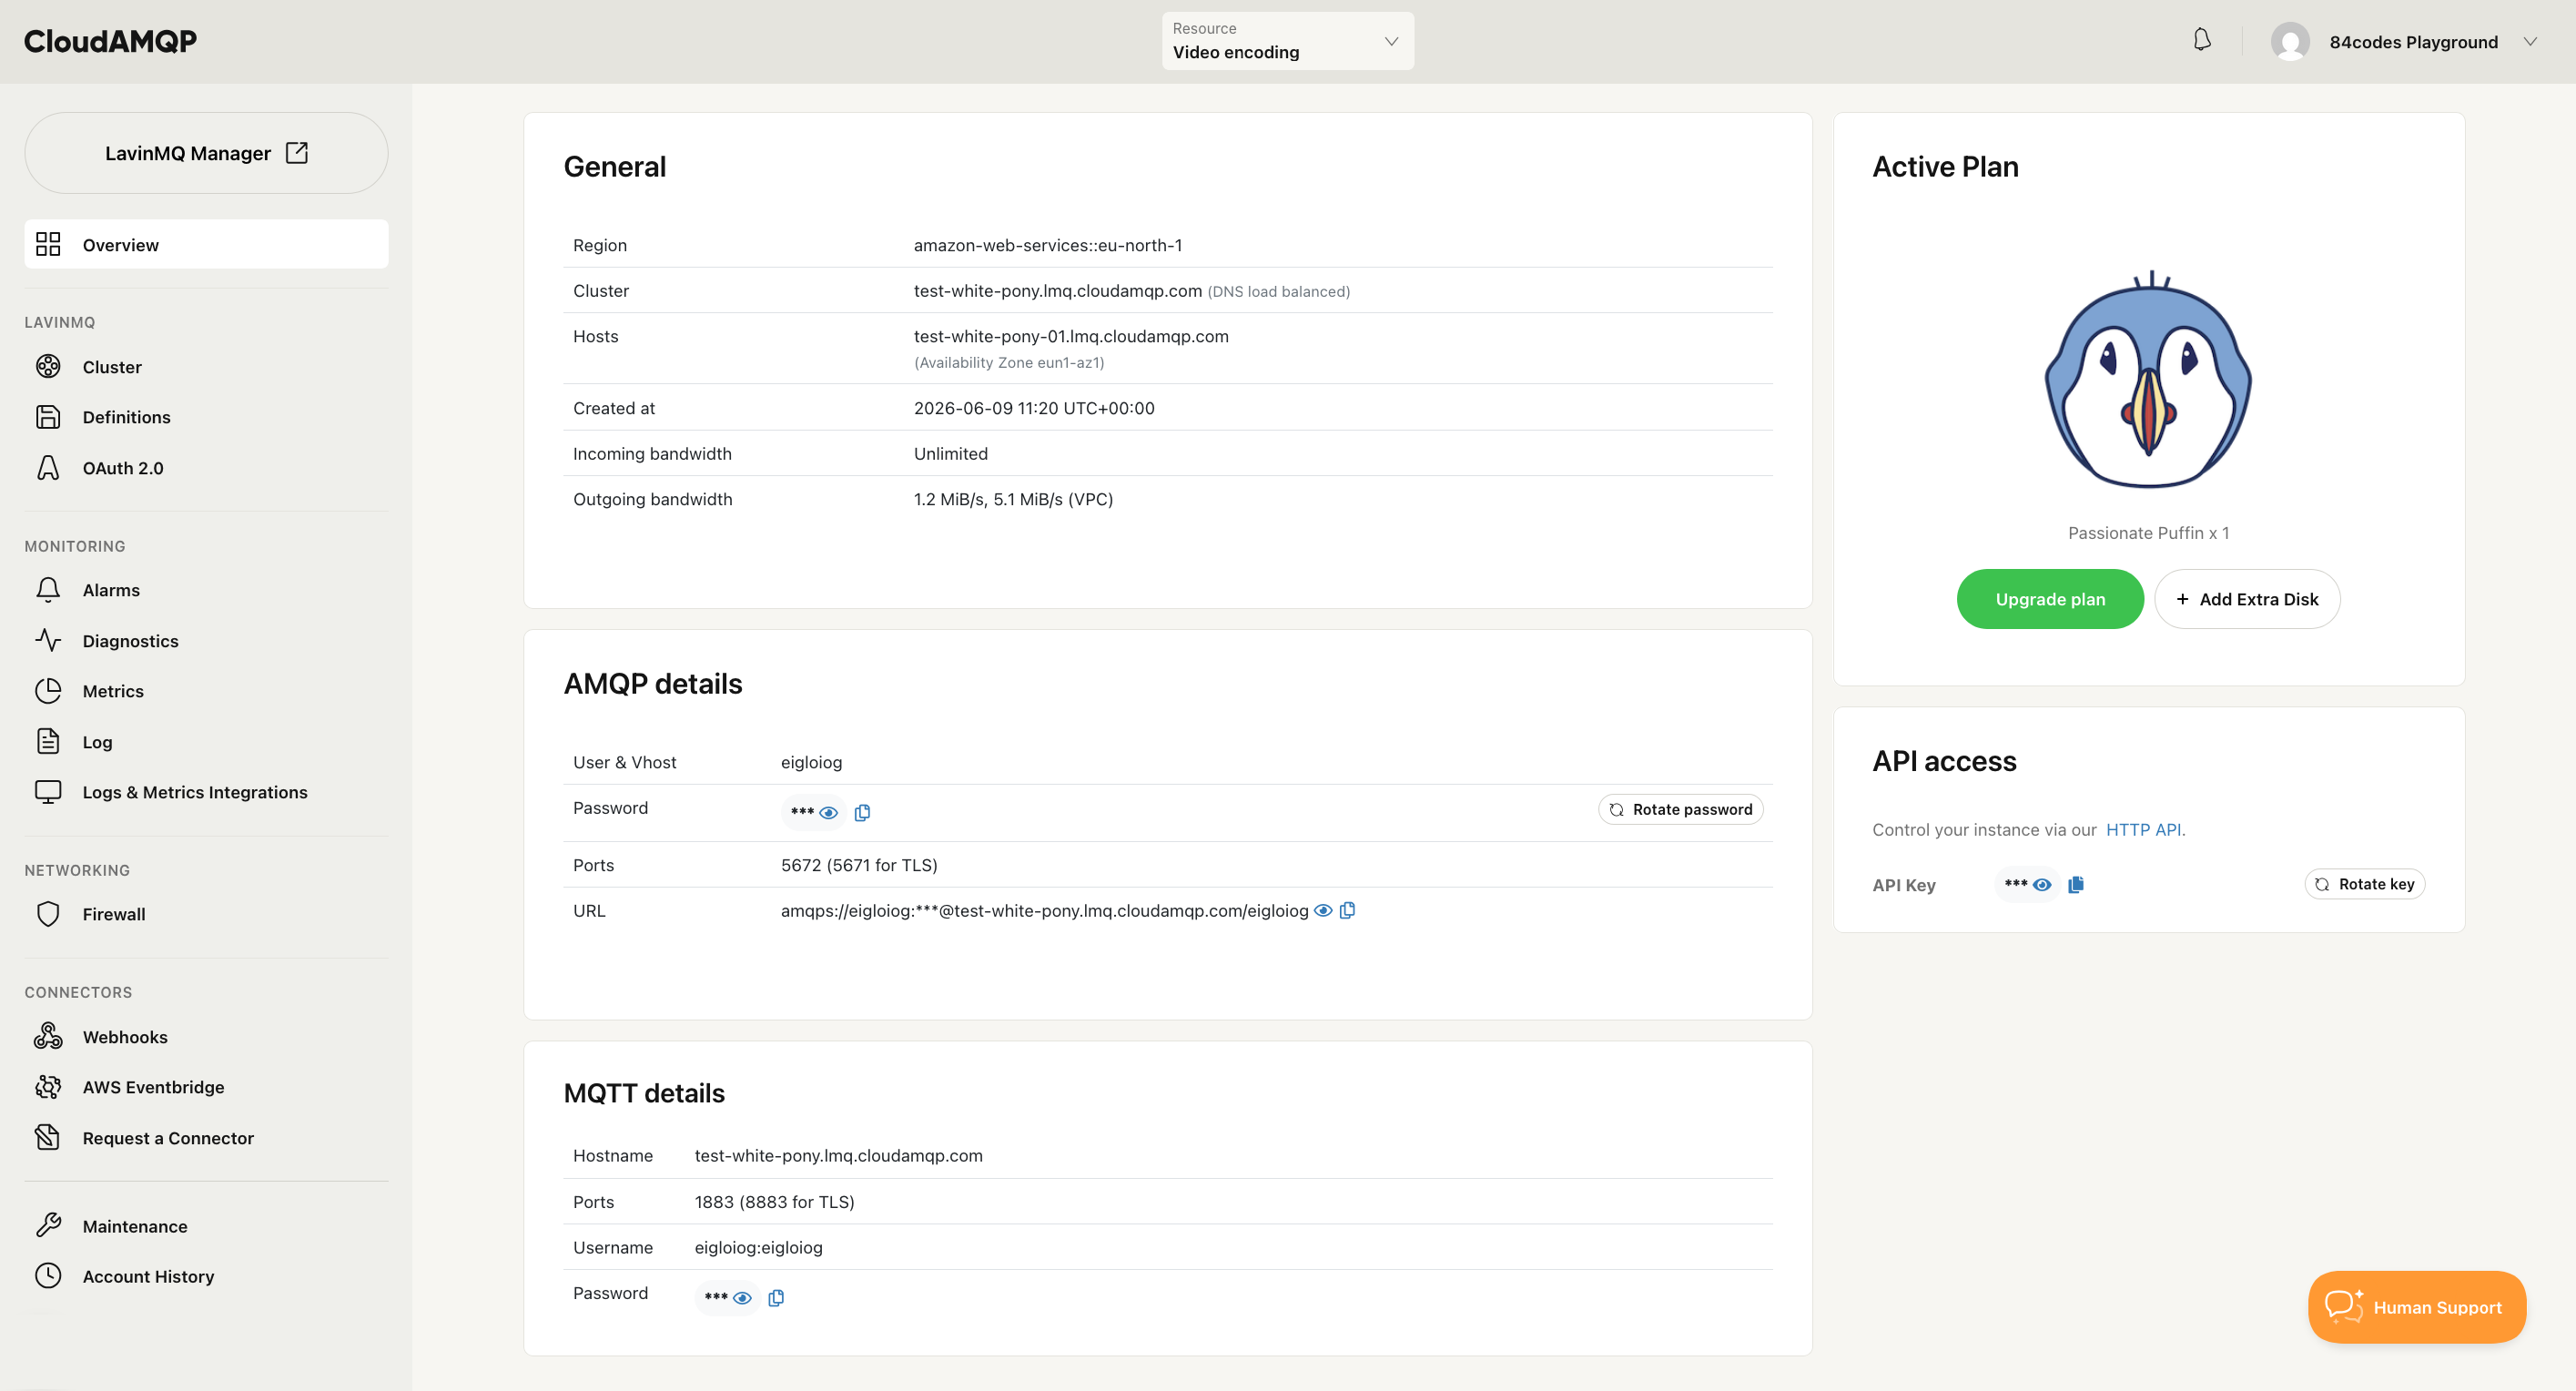
Connection URL, server name, user/vhost, and password are available on the instance details page in the CloudAMQP console.
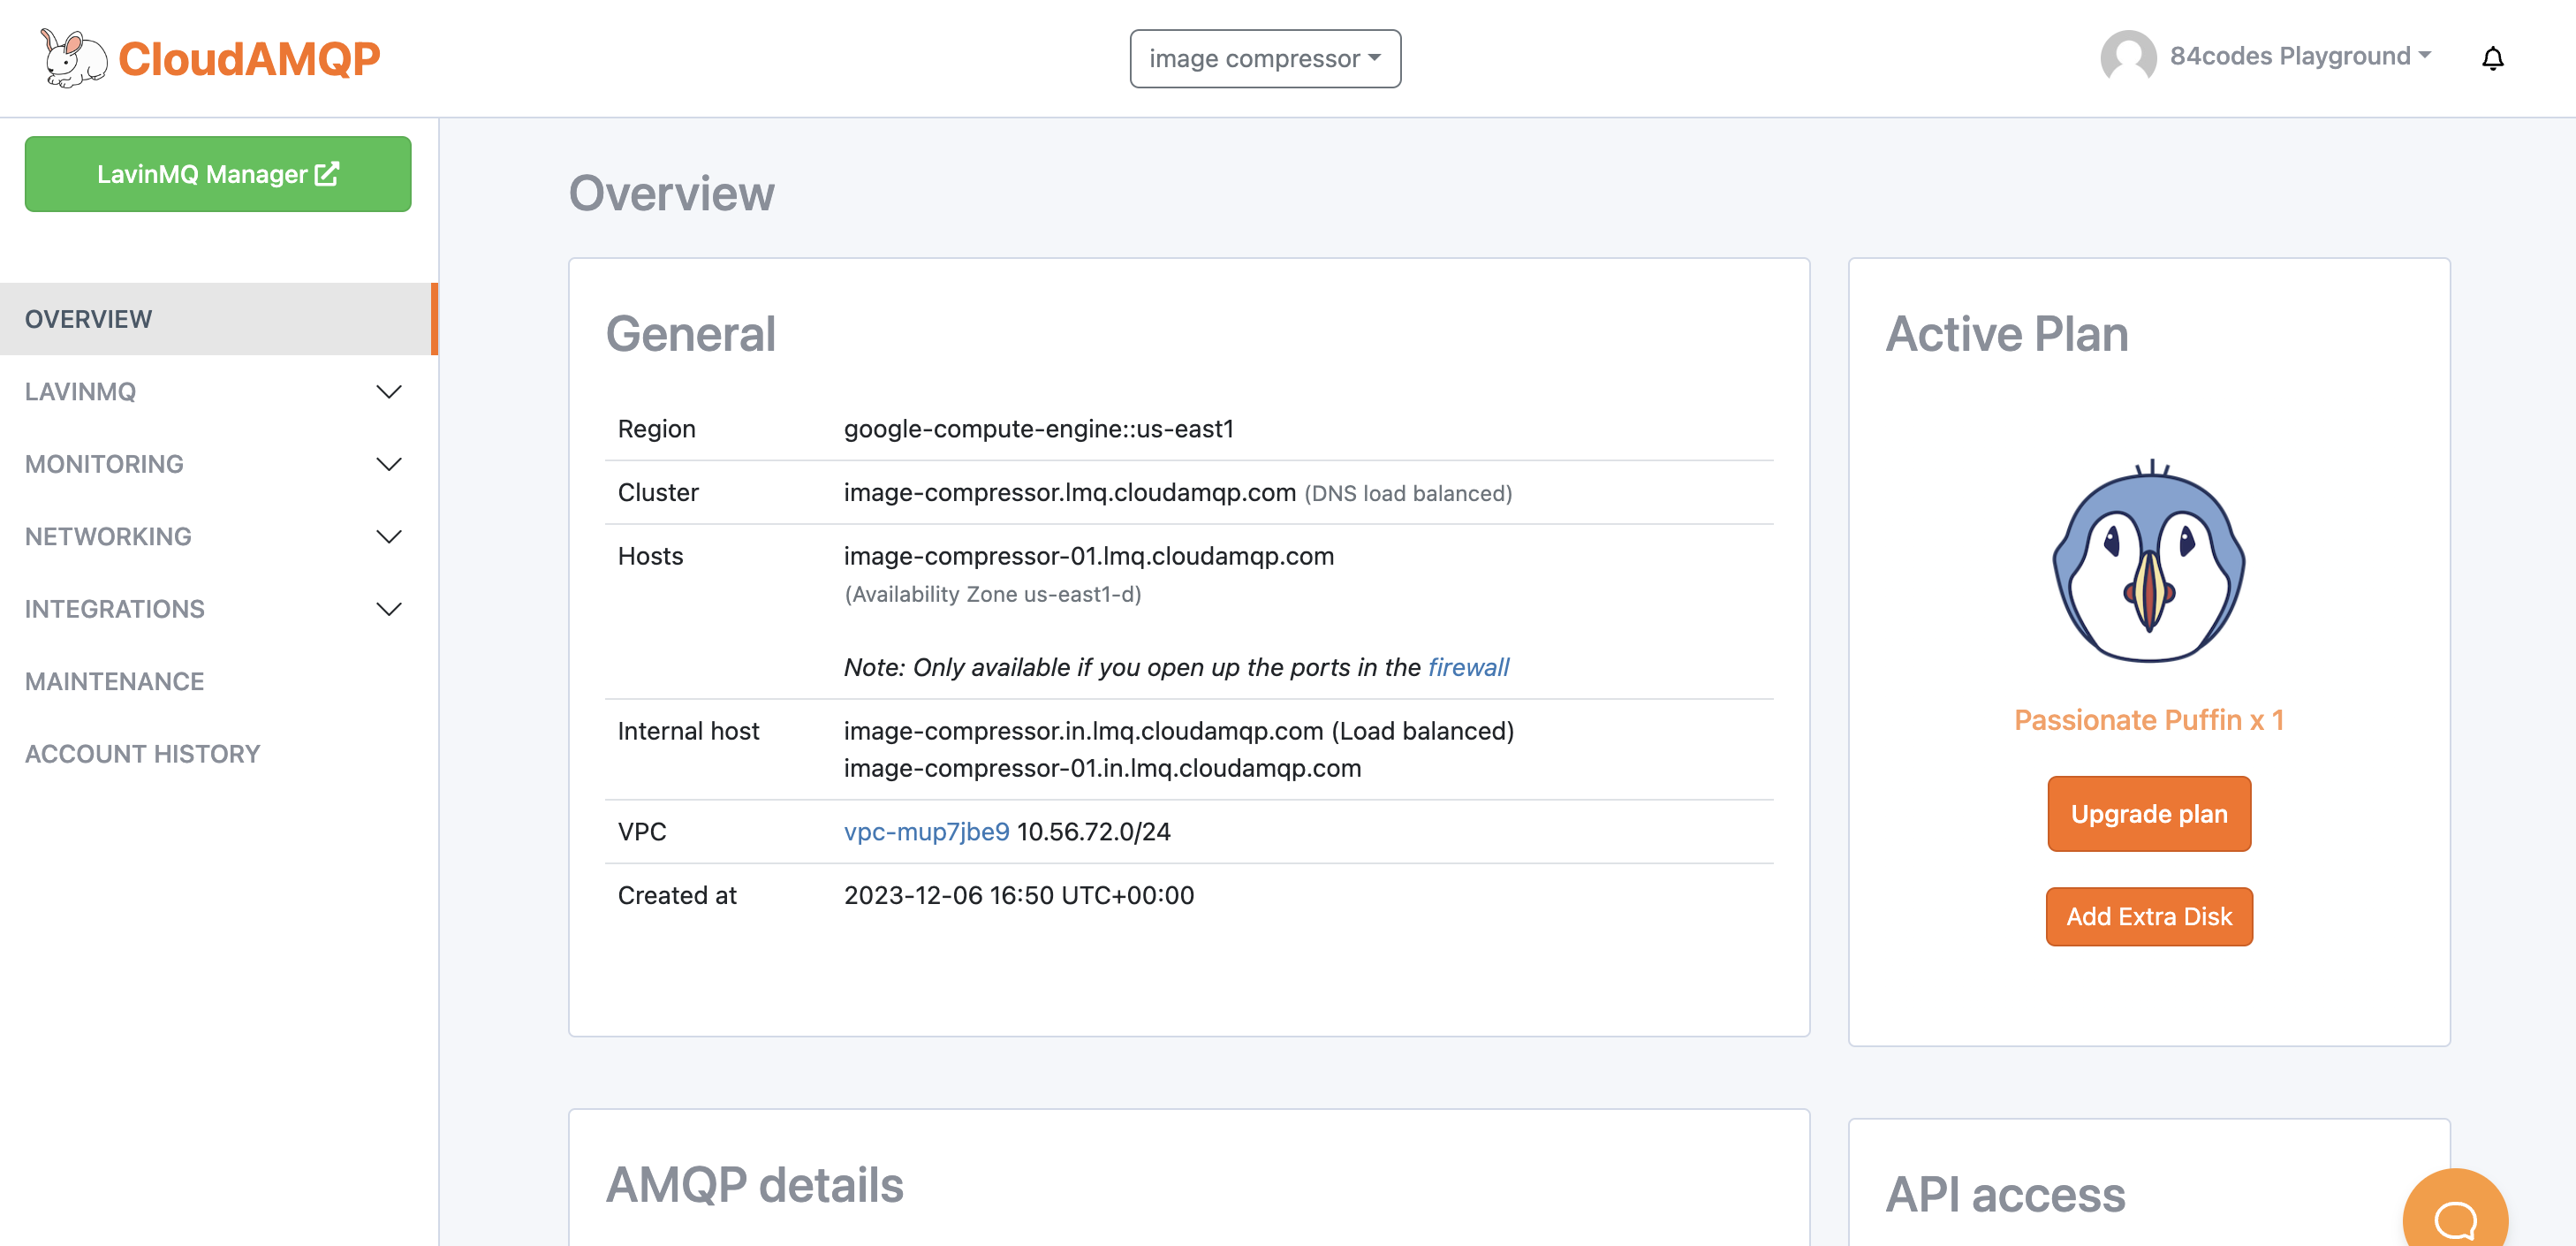
Once the instance is running, the CloudAMQP console provides everything needed to monitor and configure it: alarms, metrics, and firewall settings. The LavinMQ management interface is also available, showing the current message rate, queues and exchanges, and the bindings between them. It also makes it possible to create queues and publish messages manually.
Connect to the instance
The AMQP URL is available on the instance details page in the CloudAMQP console.
Use an environment variable, e.g., CLOUDAMQP_URL, to connect without hardcoding credentials.
Sample code is available for most languages.
Checklist for production environment
Before adding this to production, make sure to look through this list.
- LavinMQ management Get familiar with the management interface.
- CloudAMQP console Get familiar with the CloudAMQP console.
- LavinMQ version Use one of the latest LavinMQ versions.
- Environment variables Use an environment variable instead of having connection details in your code.
- Use the hostname Use the cluster hostname when connecting clients. Do not use the server’s IP address when connecting, as that might change.
- Configure the firewall A firewall lets you restrict access to the instance to only your servers.
- Set up CloudAMQP alarms
- Add a recipient.
- Some recommended alarms are configured by default, but it’s recommended to set up queue, connections, consumer, and channel alarms according to your use case.
- Tweak configurations Some configurations can be changed by sending an email to support@cloudamqp.com. Available config options can be found here.
- VPC or PrivateLink/Private Service Connect If using a VPC or PrivateLink/Private Service Connect, create peerings to your services.
- Export metrics and logs Metrics and logs can be exported to third-party providers such as CloudWatch, Datadog, Newrelic, Stackdriver, Librato, Papertrail, Loggly, Logentries, and Splunk.
- Coming soon Custom domain To use a custom domain, generate a certificate by just setting up a record and enabling it. The certificate can also be uploaded in the Custom Domain view.