How to get started with RabbitMQ on CloudAMQP
Create an account at CloudAMQP before getting started. Need help? See the getting started guide on how to set up an account.
Educational Material
New to RabbitMQ? We’ve got your back

Select plan
Start by selecting a pricing plan. The right plan depends on several things, and this guide walks through the options and when to use each one.
CloudAMQP offers eight different plans: dedicated RabbitMQ clusters with single or multiple nodes, or a multitenant server where a vhost is provided on a shared RabbitMQ server.
The different plan options are available on the pricing page.
Dedicated Instances
A dedicated plan isn’t artificially limited in any way and is therefore highly recommended for production environments. Maximum performance is determined by the underlying instance type and the number of nodes in the setup.
The price is per node, and all nodes on a given pricing plan have the same performance. Cost is based on the number of nodes in the cluster; the more nodes, the higher the cost.
The speed given on the pricing page is the burst speed, the maximum number of messages that can be sent per second for the instance during a certain amount of time. The number of messages per second depends on the type of routing, size of messages, number of consumers/publishers used, datacenter, auto acknowledgment/persistence flags, etc.
The number of supported connections increases with the number of nodes in the cluster.
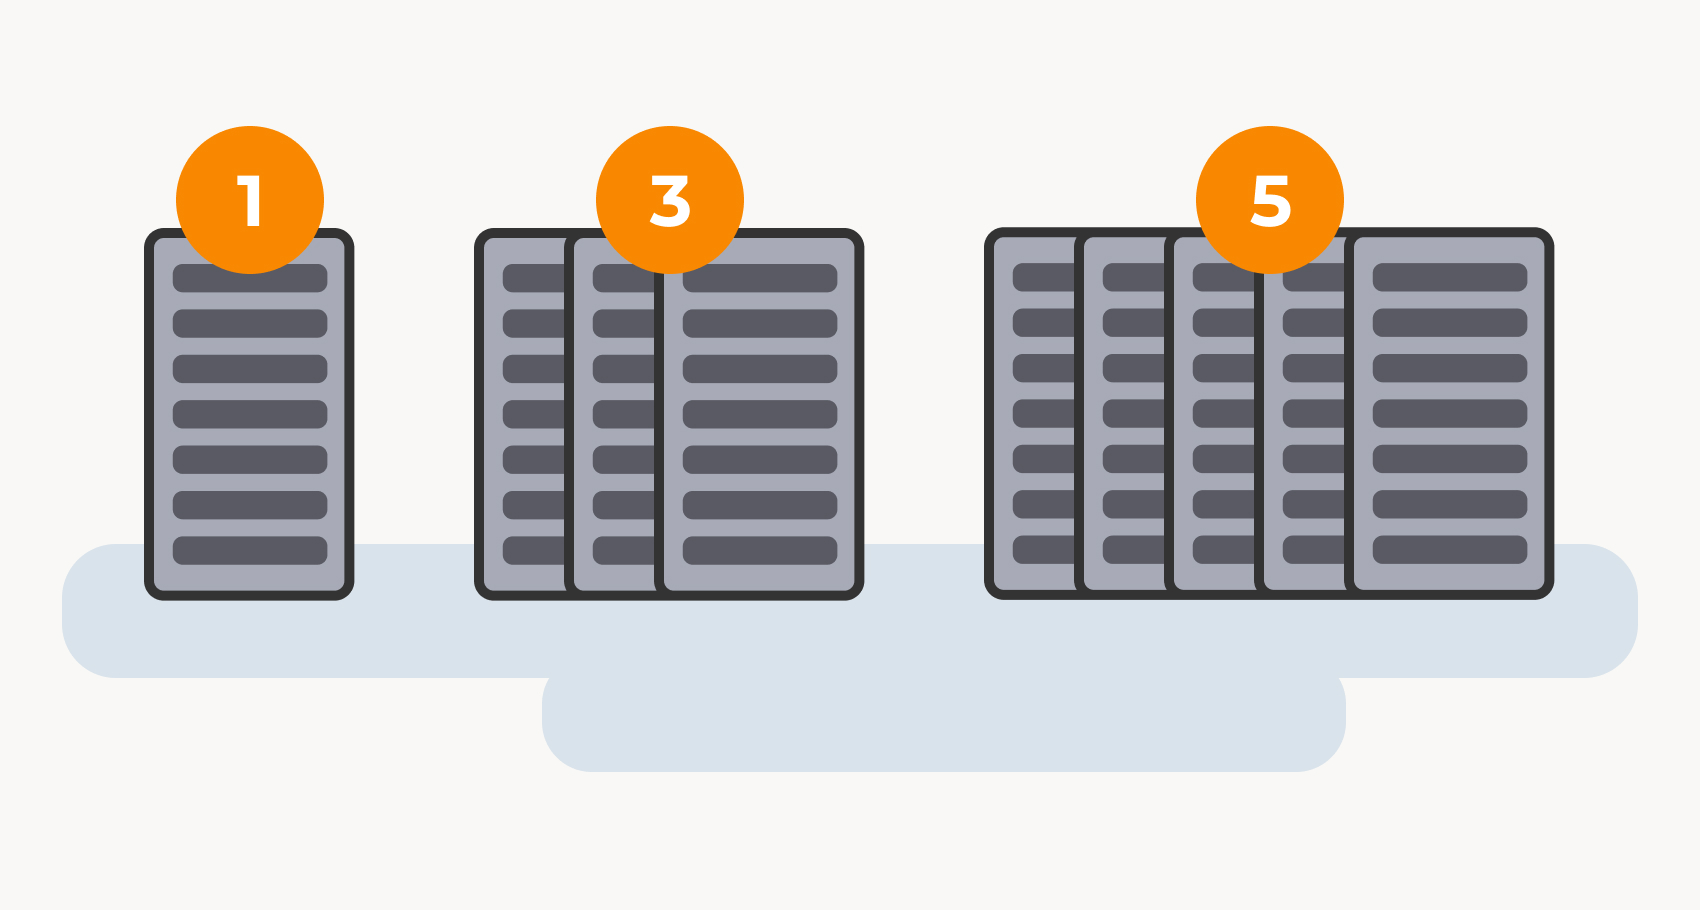
1 node: Best performance, cold standby for high availability, always consistent
Single node plans are the fastest and simplest. All data written to disk is safe. Data on a single node setup is always consistent since no data needs to be written to another RabbitMQ server.
3 nodes cluster: Data replicated over 3 nodes in 2 AZs
A CloudAMQP cluster with three nodes gives three RabbitMQ servers. These servers are placed in different zones (availability zones in AWS) in all data centers with support for zones.
5 nodes: Data replicated over 5 nodes in 3 AZs
A CloudAMQP cluster with five nodes gives five RabbitMQ servers, divided across different availability zones in data centers with support for zones. Two nodes are allocated in one zone, two in the next, and the final node in a third zone.
Shared Instances
A shared instance is a virtual host (vhost) located on a shared server, where other users’ activity might affect the performance of the whole server. All shared plans have a channel limit of 200 and a maximum of 200 consumers per channel.
Shared plans are recommended for testing or hobby applications.
Create the instance
Give the instance a name and select a pricing plan. A tag can be added to separate instances between projects.
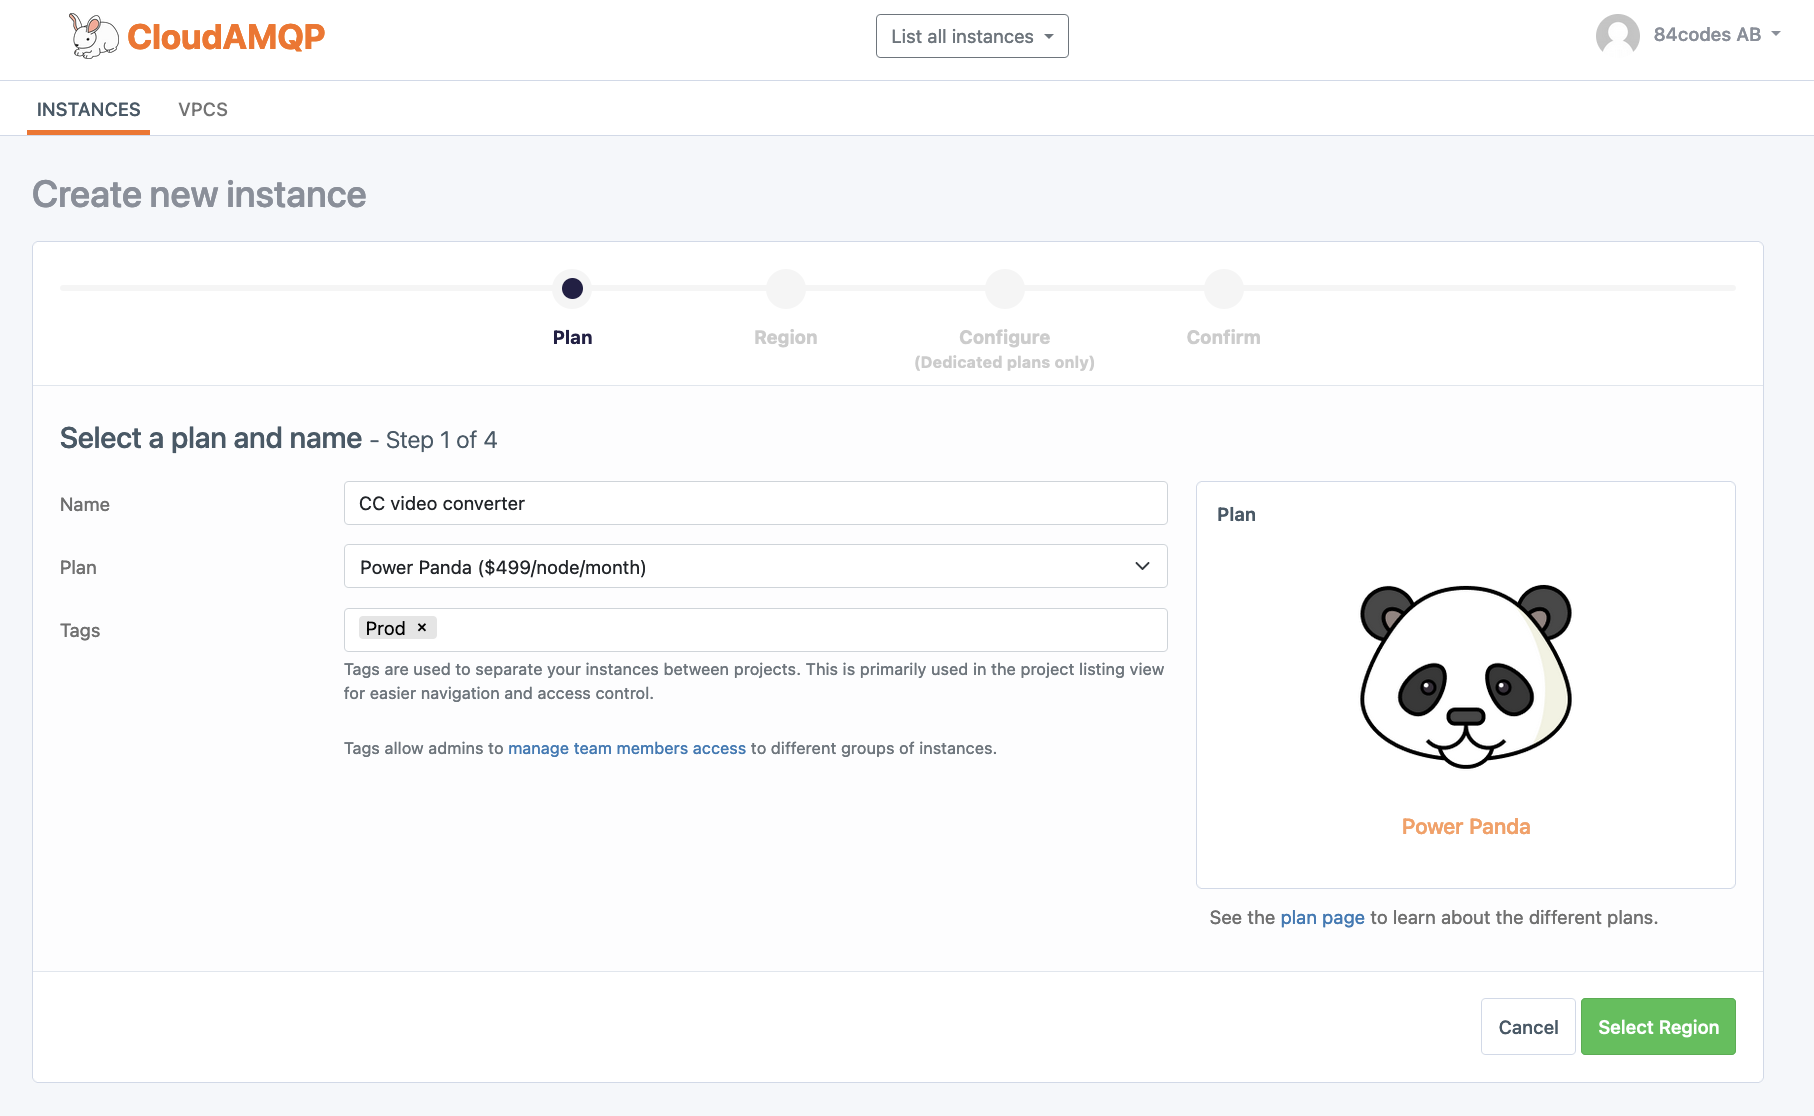
| Name | A label used to identify the instance in the console. |
| Plan | The CloudAMQP pricing plan |
| Tag (optional) | Tags separate instances between projects and facilitate the project listing view for easier navigation and access control. E.g., "Test," "Prod," "Staging." |
Select a region and data center
Select a data center and region closest to the application.
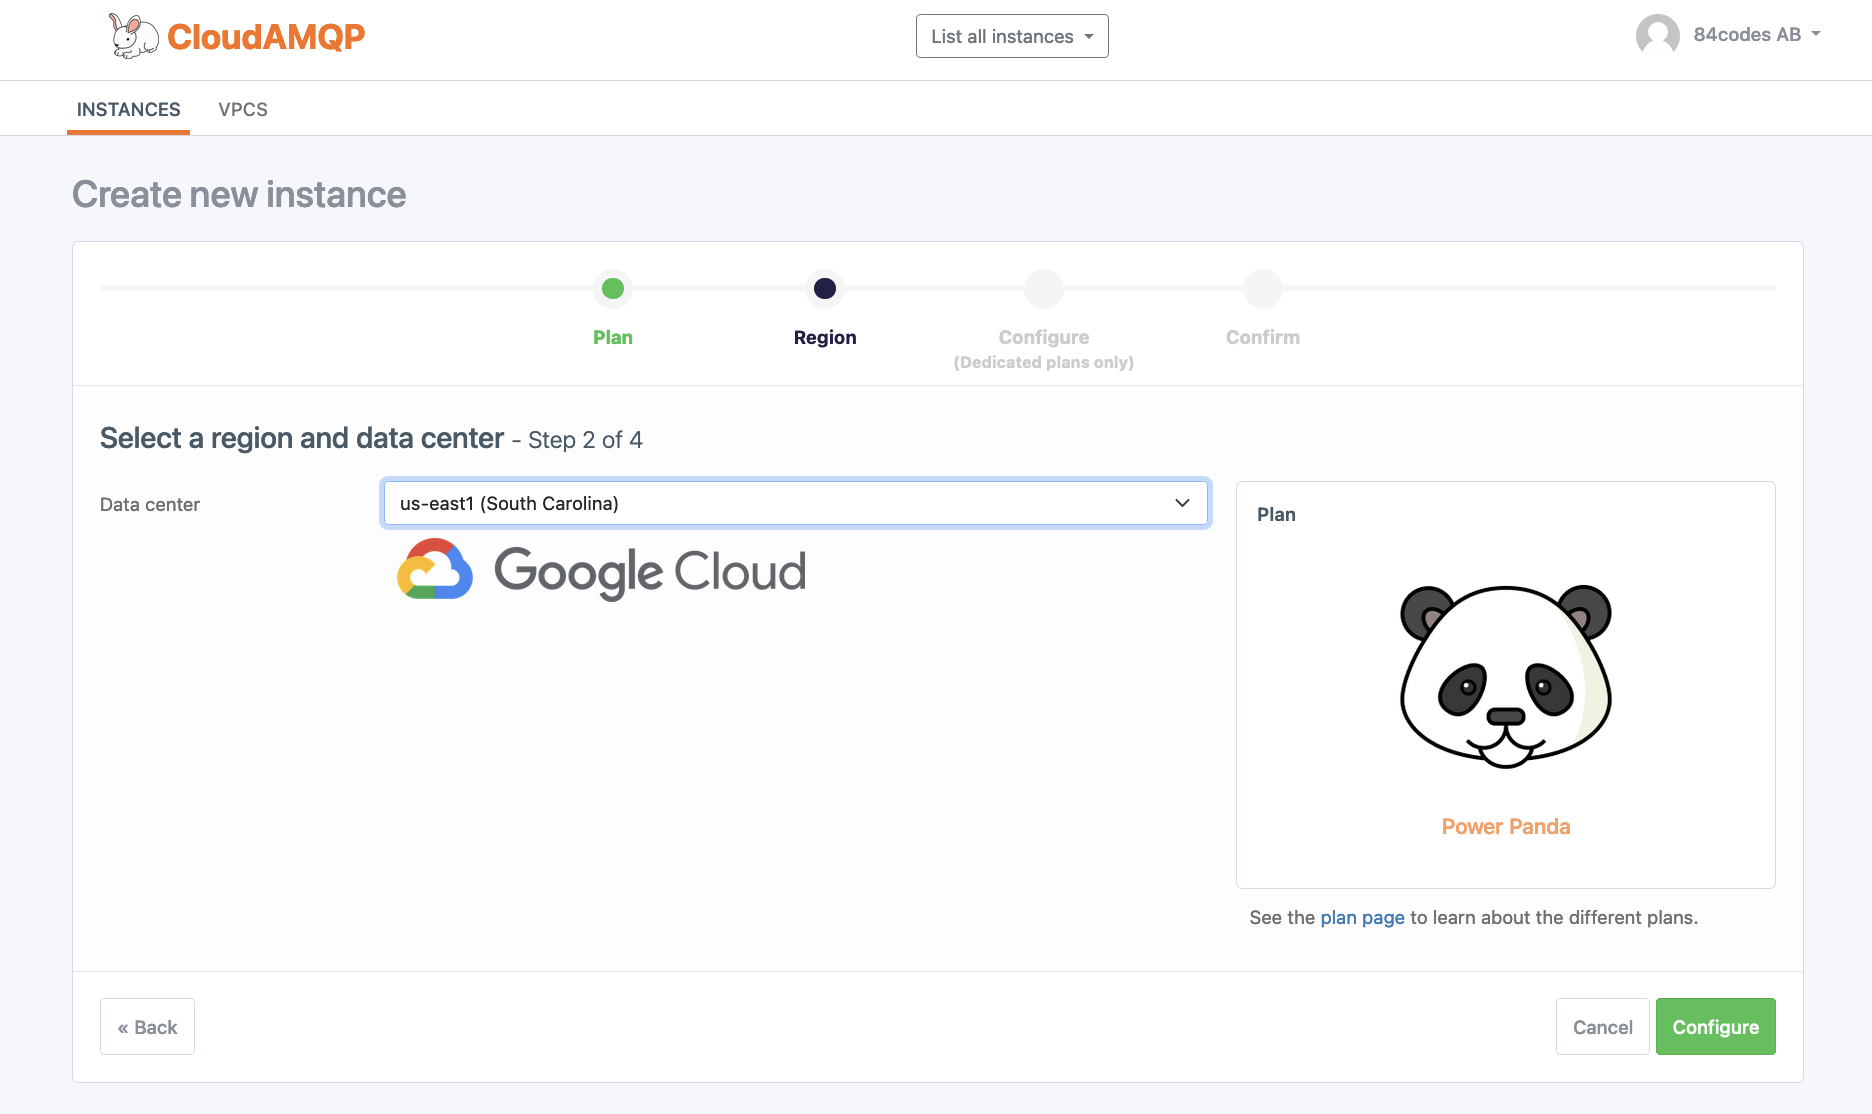
| Data center | Select the same data center and region as the application. |
| Region | Select the region within the data center closest to your application to minimize latency. |
Select configuration
Select the number of nodes in the cluster, along with a RabbitMQ version. The default version shown in the drop-down is recommended by CloudAMQP.
It is possible to set up a peering connection between a VPC and a CloudAMQP VPC, see VPC peering.
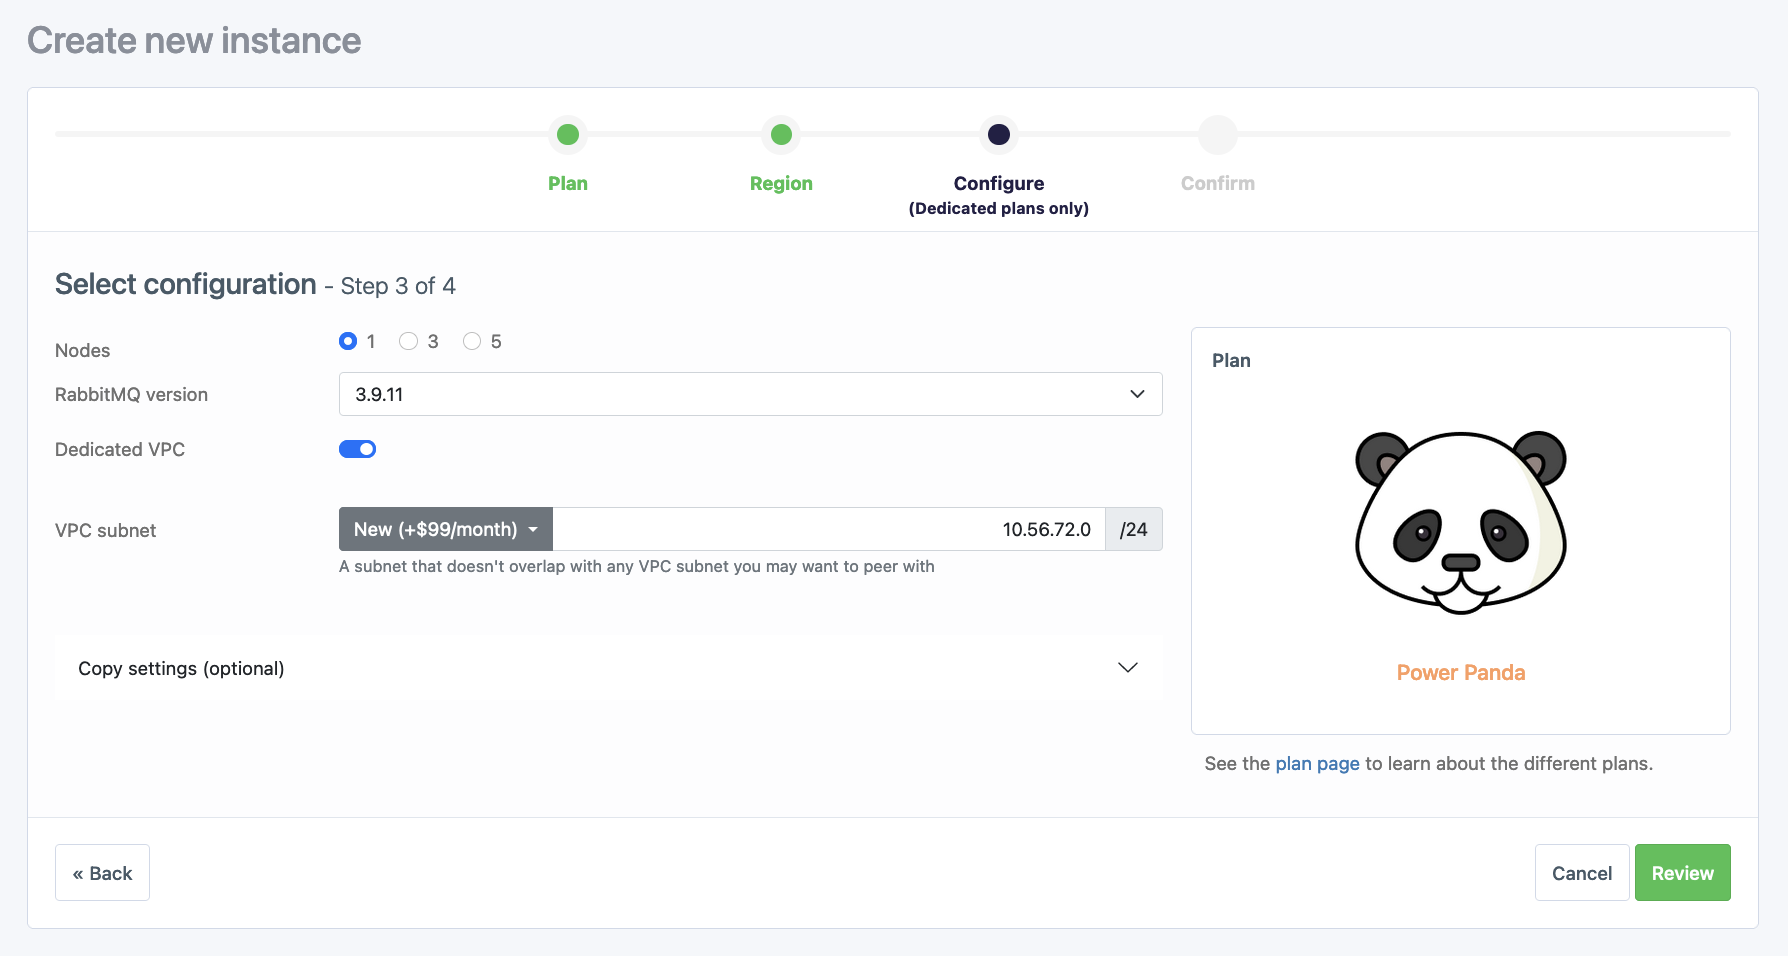
| Nodes | Specify the number of nodes in the cluster. |
| RabbitMQ version | The default version is the version recommended by CloudAMQP. |
| Dedicated VPC | VPC peering with the CloudAMQP instance. The VPC subnet must be specified when creating a VPC. |
| Advanced configuration | Additional advanced settings for the cluster configuration. |
| Copy settings | Copies settings like alarms or firewall configurations from another instance. |
Confirm new instance
Verify the information and press Create instance. The instance provisions immediately and is ready to connect within minutes.
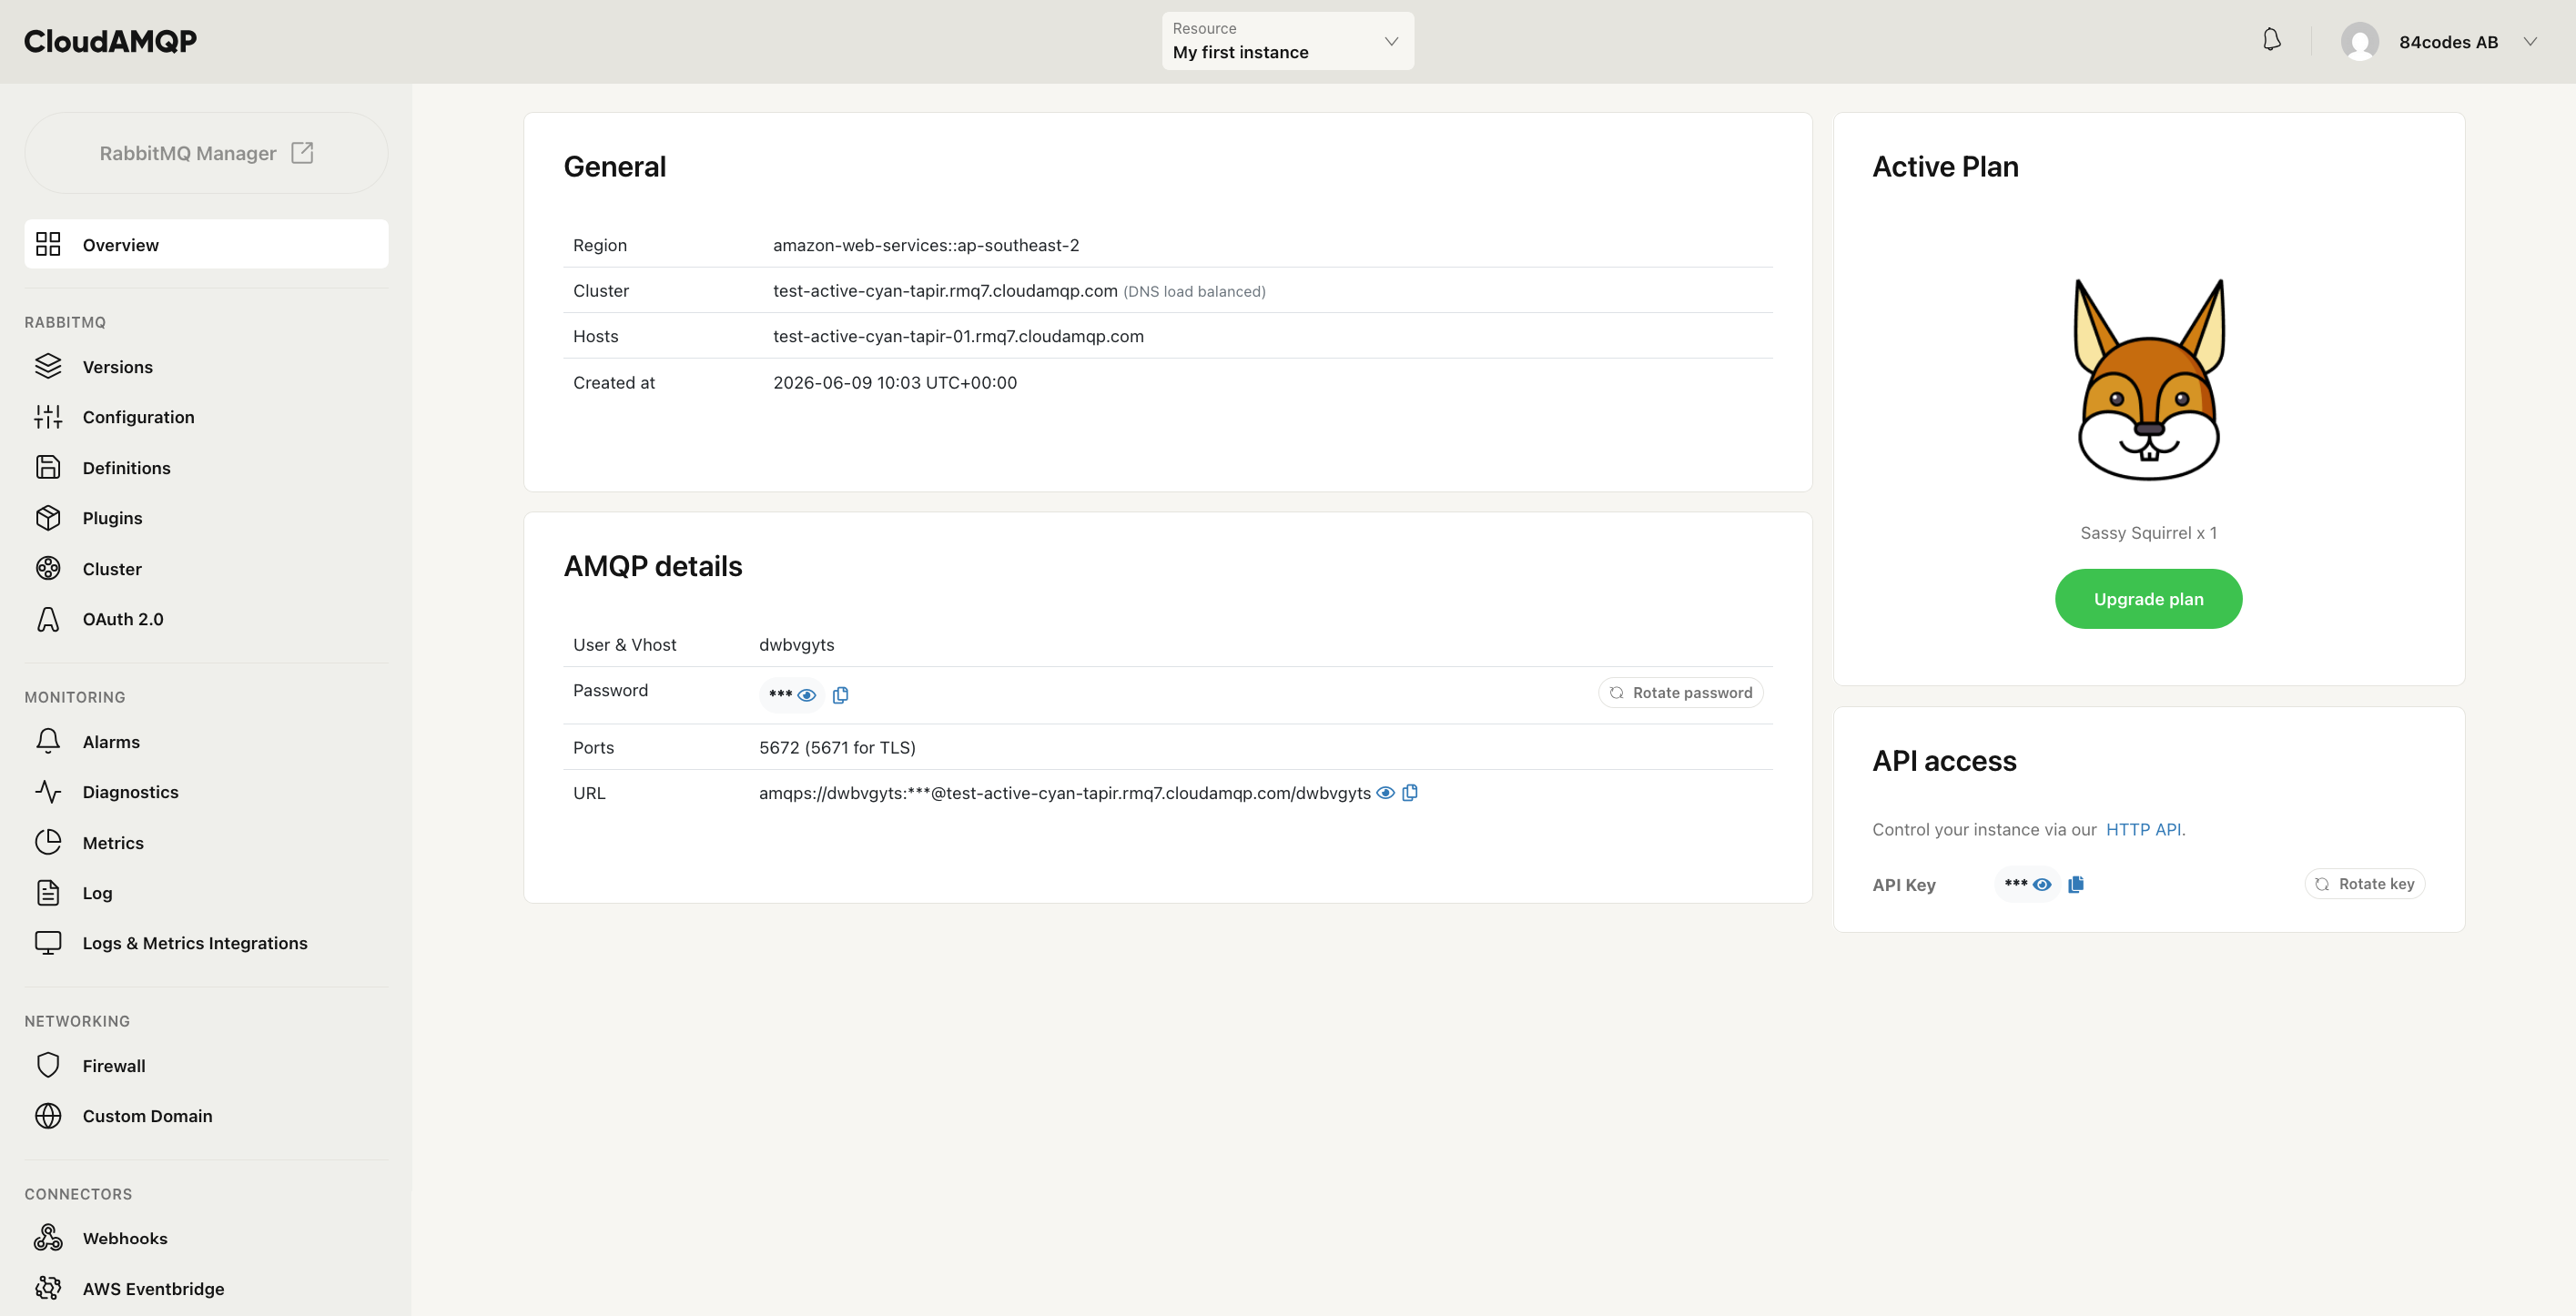
Connection URL, server name, user/vhost, and password are available on the instance details page in the CloudAMQP console.
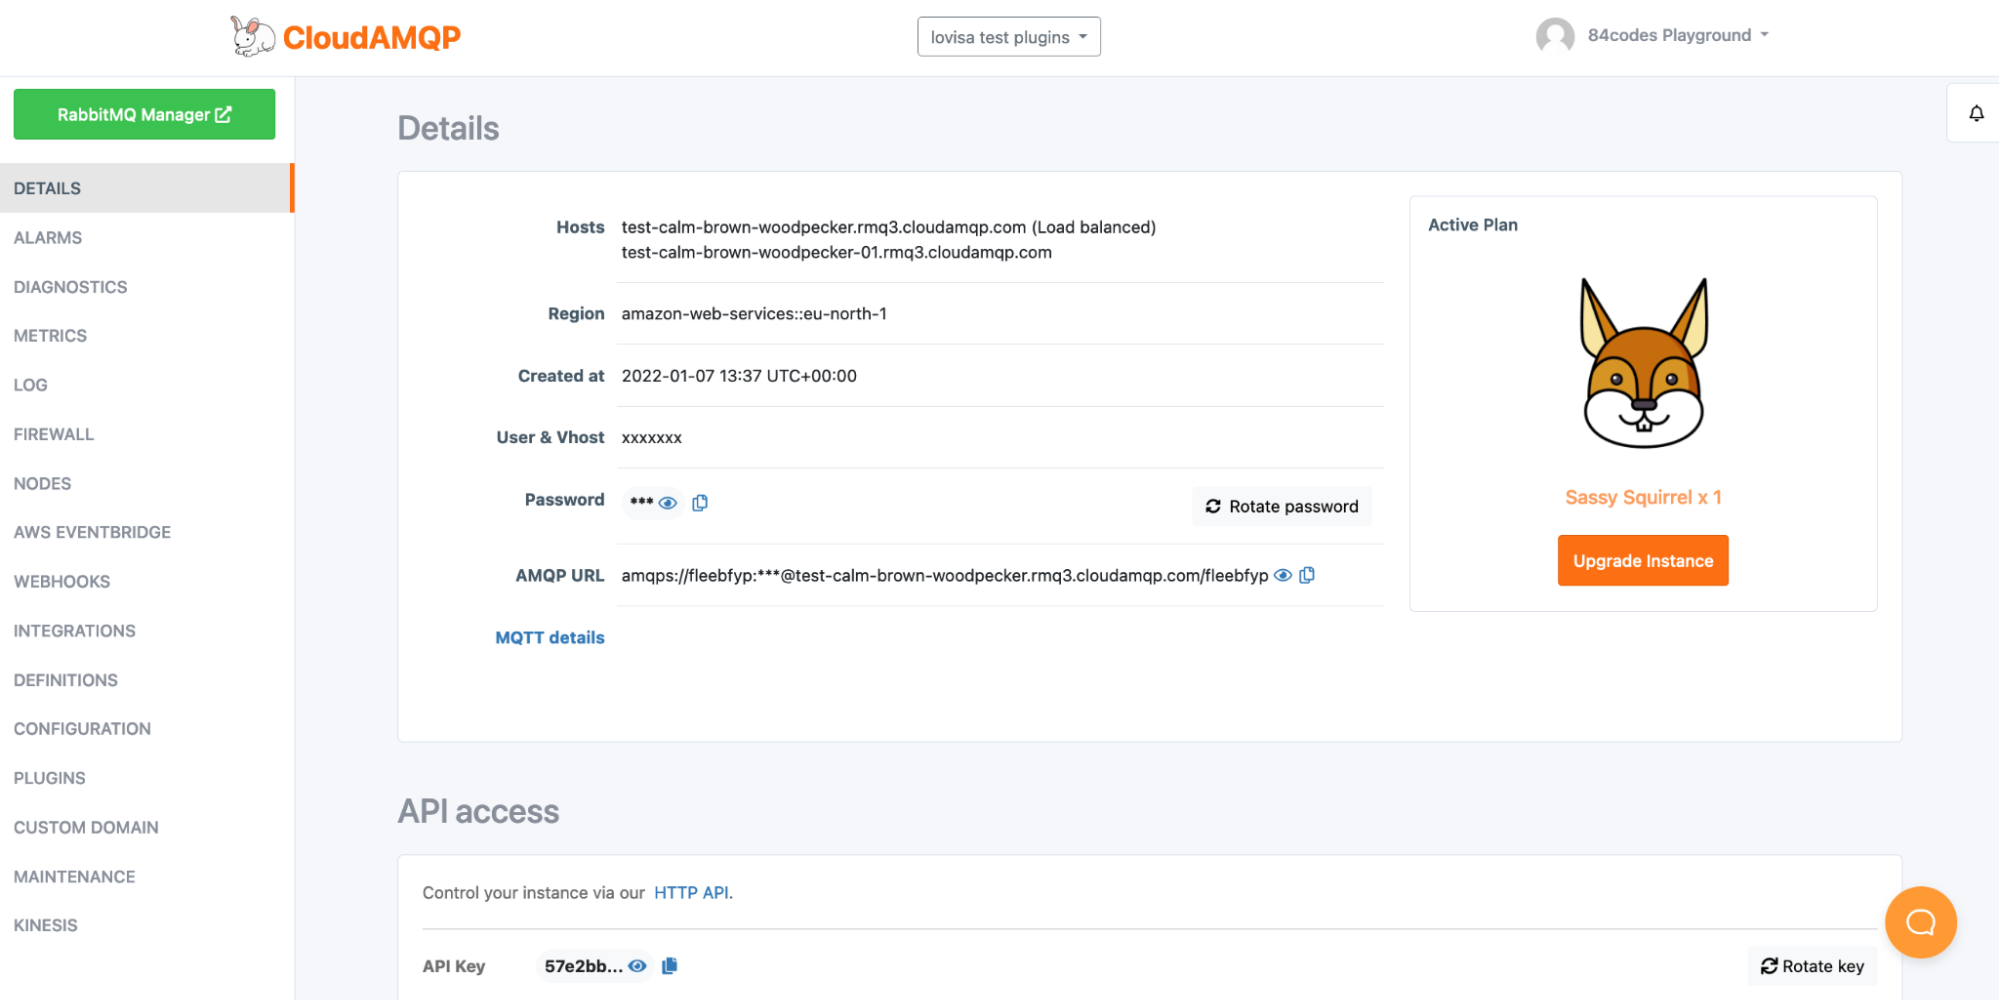
Once the instance is running, the CloudAMQP console provides everything needed to monitor and configure it: alarms, logs, metrics, plugins, and firewall settings.
RabbitMQ Management Interface
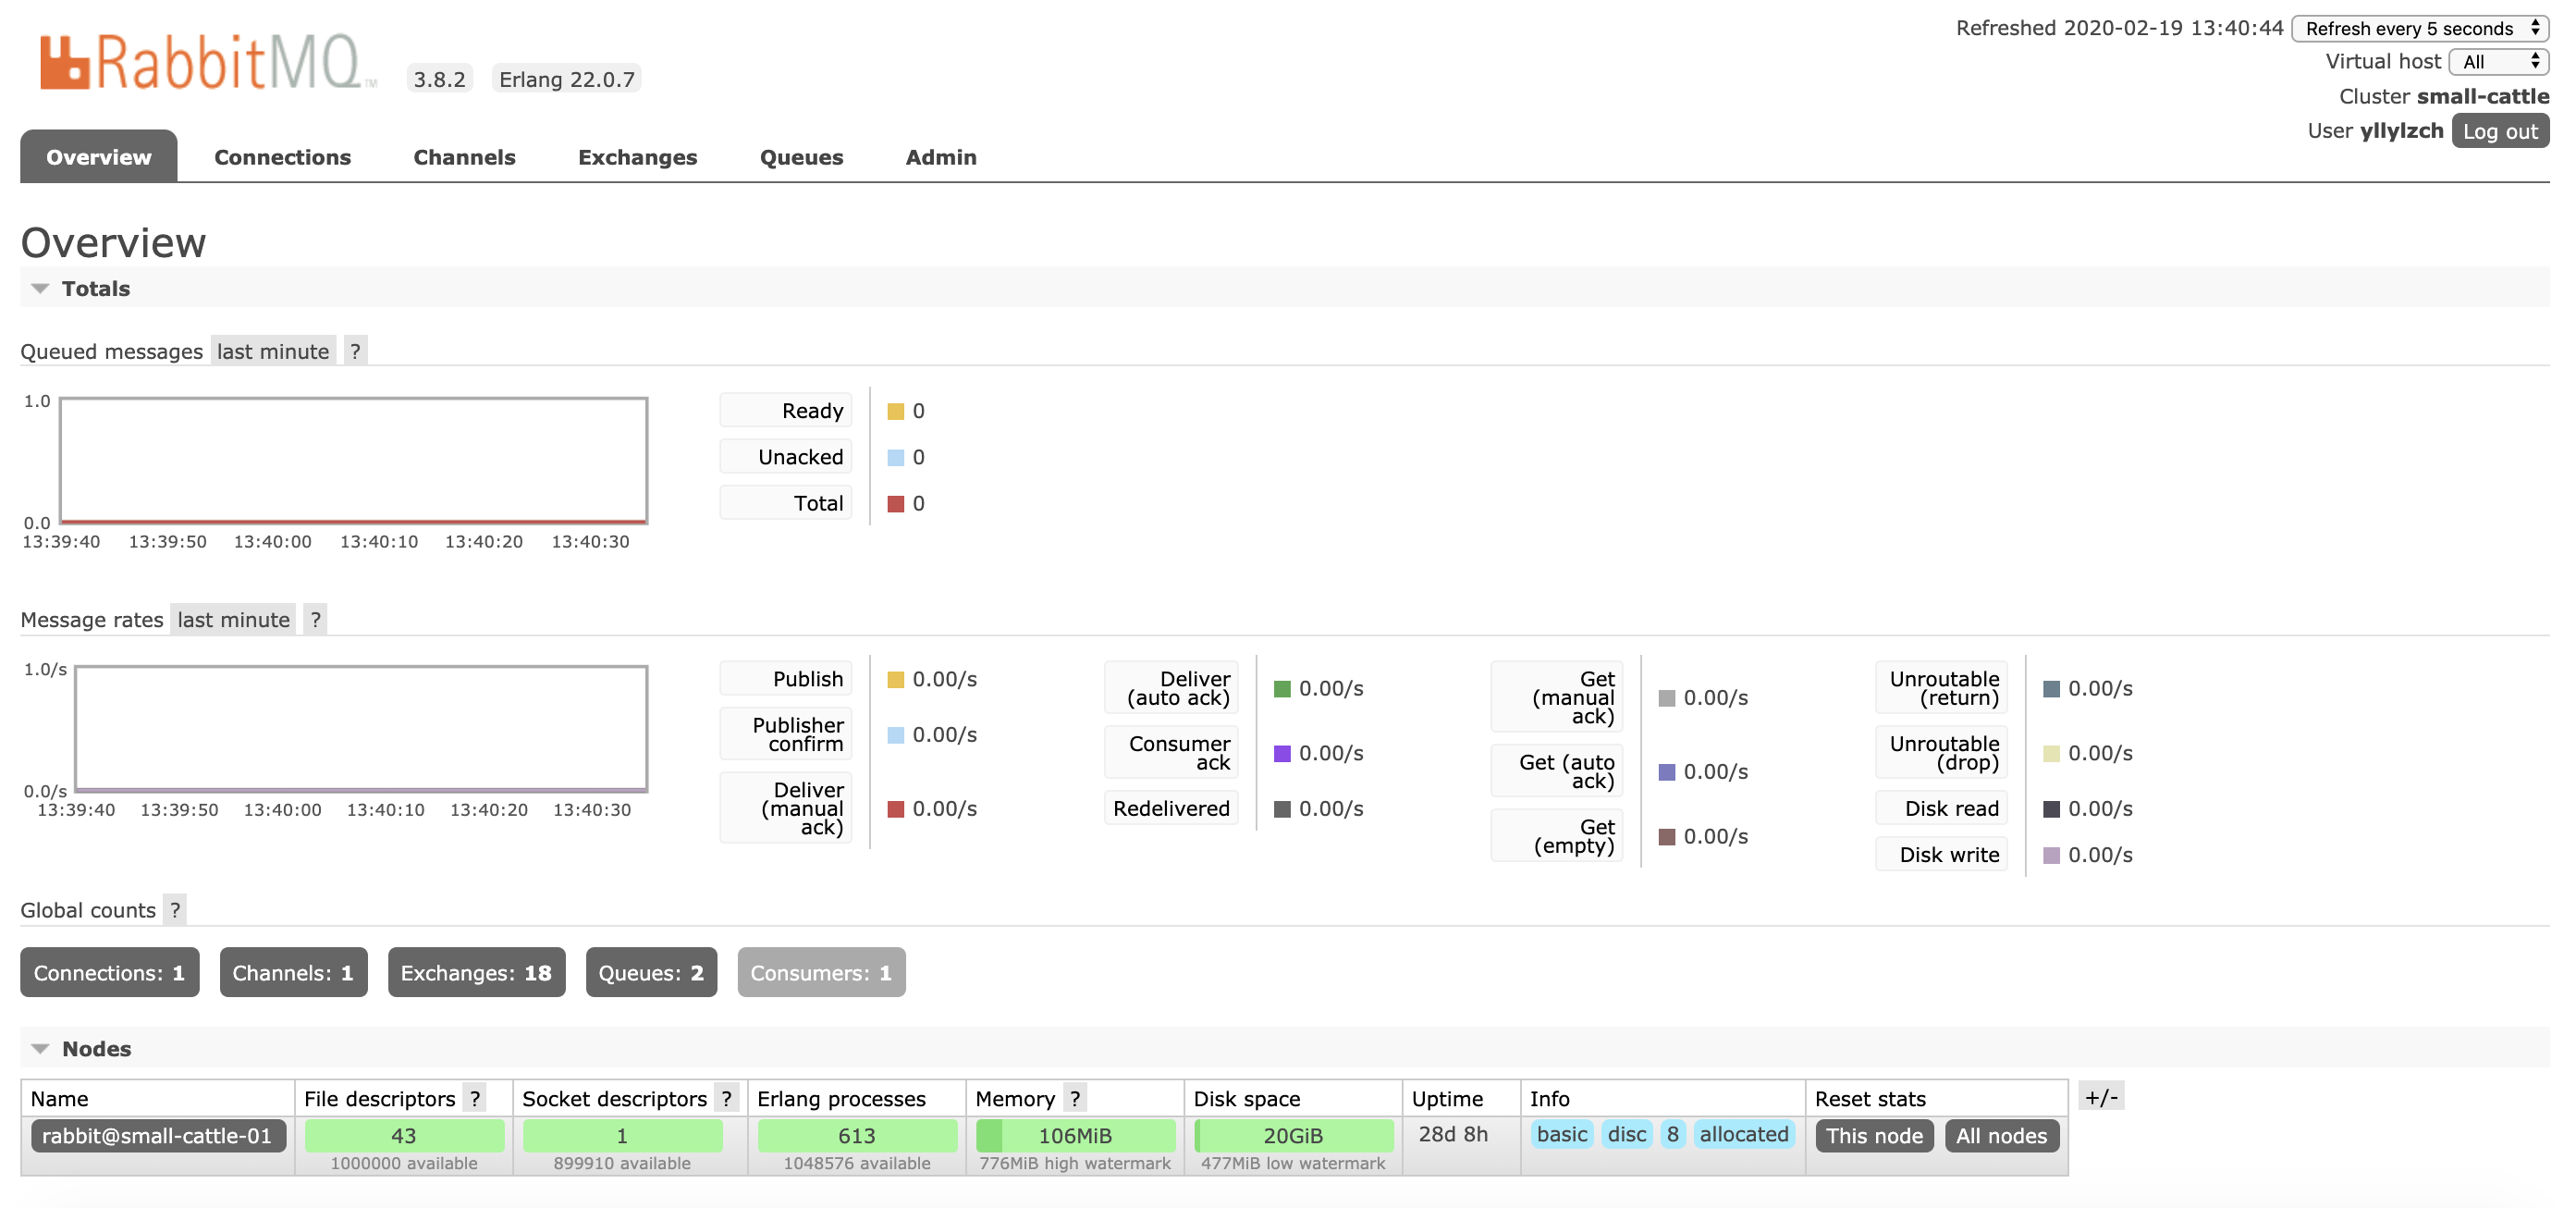
The RabbitMQ management interface is available by pressing the green button in the top left corner. It visualizes the RabbitMQ instance and shows, for example, the current message rate, queues and exchanges created, and the bindings between them. The management interface also makes it possible to create queues and publish messages manually, among other things.
Connect to the instance
The AMQP URL is available on the instance details page in the CloudAMQP console.
Use an environment variable, e.g., CLOUDAMQP_URL, to connect without hardcoding credentials.
Sample code is available for most languages.
Ensure to complete the following steps before moving on
- Set up your instance in your selected cloud
- Get familiar with RabbitMQ management
- Get familiar with the CloudAMQP console
- Get familiar with Prometheus
The basics are covered — ready to send the first messages. Bookmark this checklist to refer back to when setting up a production environment in RabbitMQ.
Checklist for production environment
Before adding this to production, make sure to look through this list.
- RabbitMQ management Get familiar with the management interface.
- CloudAMQP console Get familiar with the CloudAMQP console.
- RabbitMQ and Erlang version Use one of the latest RabbitMQ and Erlang versions.
- Environment variables Ensure to use an environment variable instead of having connection details in your code.
- Use the hostname Use the cluster hostname when connecting your clients. Do not use the server’s IP address when connecting, as that might change.
- Configure the firewall A firewall lets you restrict access to your cluster to which only your servers will have access.
- Set up CloudAMQP alarms
- Add a recipient.
- We configure some recommended alarms by default, but it’s recommended to set up queue, connections, consumer, and channel alarms according to your use case.
- Use quorum queues If you have a multi-node cluster, use quorum queues instead of classic mirrored queues.
- Tweak configurations CloudAMQP configures your RabbitMQ cluster, but some configurations can be changed in the Configurations view according to your needs. If you want to tweak other configurations, not in this tab, send us an email to support@cloudamqp.com and we can help you out. Available configurations in the Configuration tab are:
- Server heartbeat value.
- The maximum number of channels per connection.
- The maximum number of connections.
- Consumer timeout value if the consumer is not acknowledging messages.
- Memory high watermark.
- A message that is smaller than configured
queue_index_embed_msgs_belowis written directly to the queue index. - Default vhost
- MQTT Exchange
- Log exchange level
- Persistent messages and durable queues If using classic queues, make sure to use persistent messages and durable queues for messages to survive a restart.
- VPC or Privatelink If using a VPC or Privatelink, create peerings to your services.
- Export metrics and logs Metrics and logs can be exported to third-party providers such as CloudWatch, Datadog, Newrelic, Stackdriver, Librato, Papertrail, Loggly, Logentries, and Splunk.
- Enable plugins We enabled a couple of plugins by default, for example, Shovels, Federations, and RabbitMQ Management, but you can enable/disable other plugins from the Plugin view.
- Custom domain To use a custom domain, generate a certificate by just setting up a record and enabling it. You can also upload your certificate in the Custom Domain view.